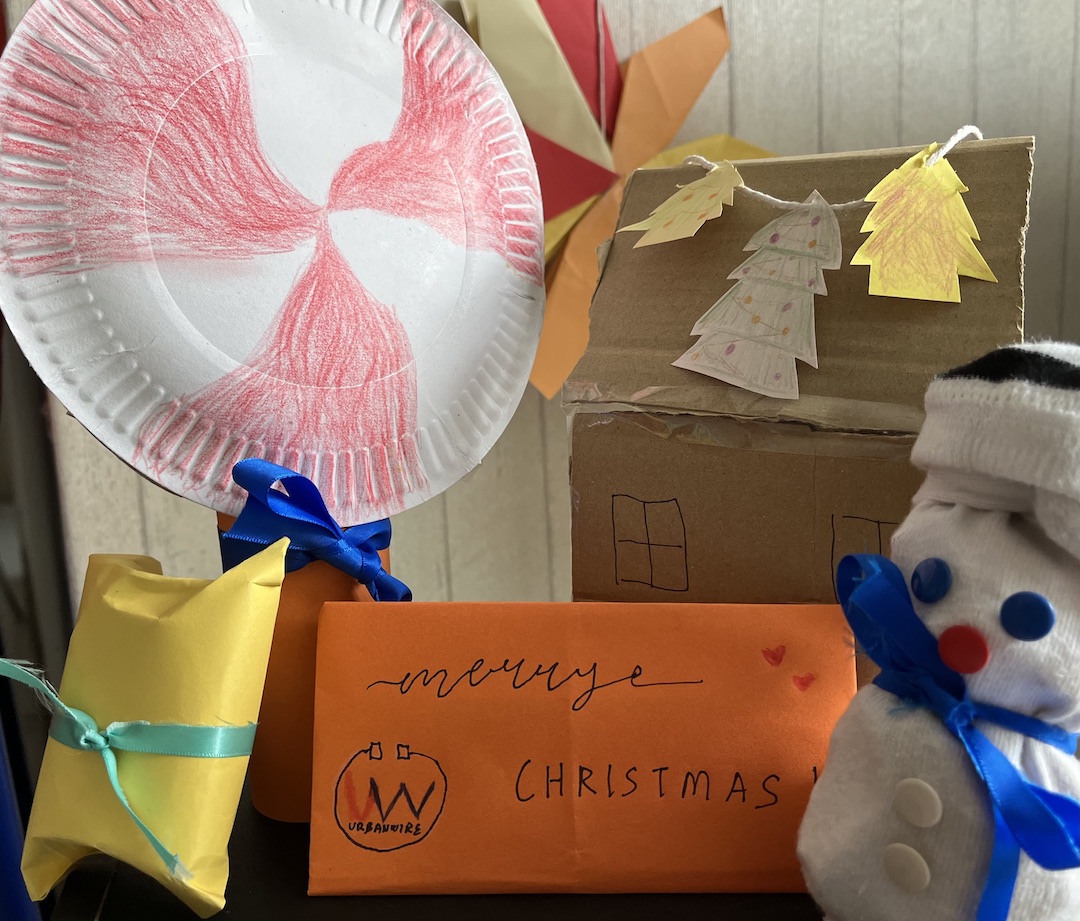
It’s almost that time of the year again, Christmas time! If you are like me (and most of my friends) who have been too busy to get started decorating your home, we got you covered. Here are some easy-to-follow DIY instructions to create Christmas decorations right in the comfort of your home.
Let’s be honest, crafting is not everyone’s cup of tea. But the feeling of satisfaction after completing something challenging is always unexplainable. At first, I didn’t have the motivation to sit through multiple tutorial videos. But eventually, I started finding my rhythm and became driven to make the decor come to life.
So, here are seven Christmas decorations ideas you can easily create. I’ve ranked them from the easiest to the hardest. Let’s get started!
- Christmas Greeting Card and Envelope
- Gift Boxes
- Snowman
- Christmas Tree
- Christmas Lollipop
- Snowflakes
- Christmas House
1. Christmas Greeting Card and Envelope
Estimated time: 5 minutes
First up, Christmas greeting cards and envelopes. Have you wondered why some people still send greeting cards when we can just send a GIF or text message? In the past, it was a tradition to send Christmas cards. Today, the tradition is still practised to express personal affection to the person we are writing to.
It’s also not that difficult to make one.
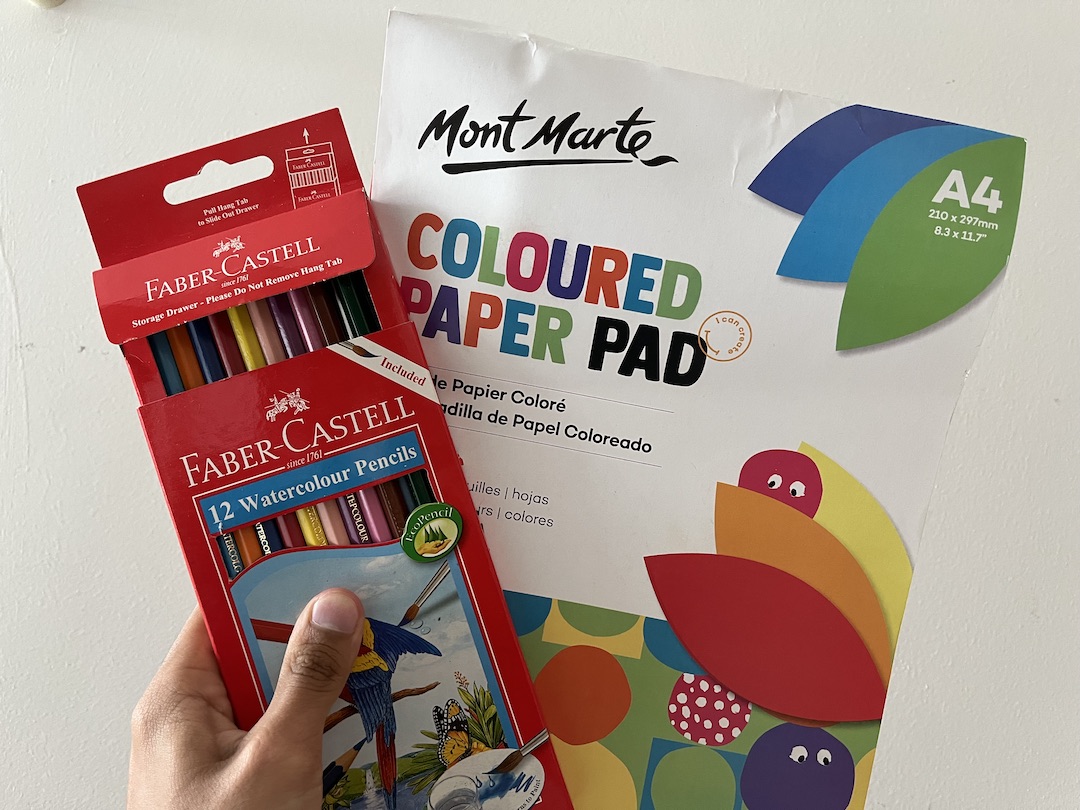
Materials needed: Coloured paper and markers.
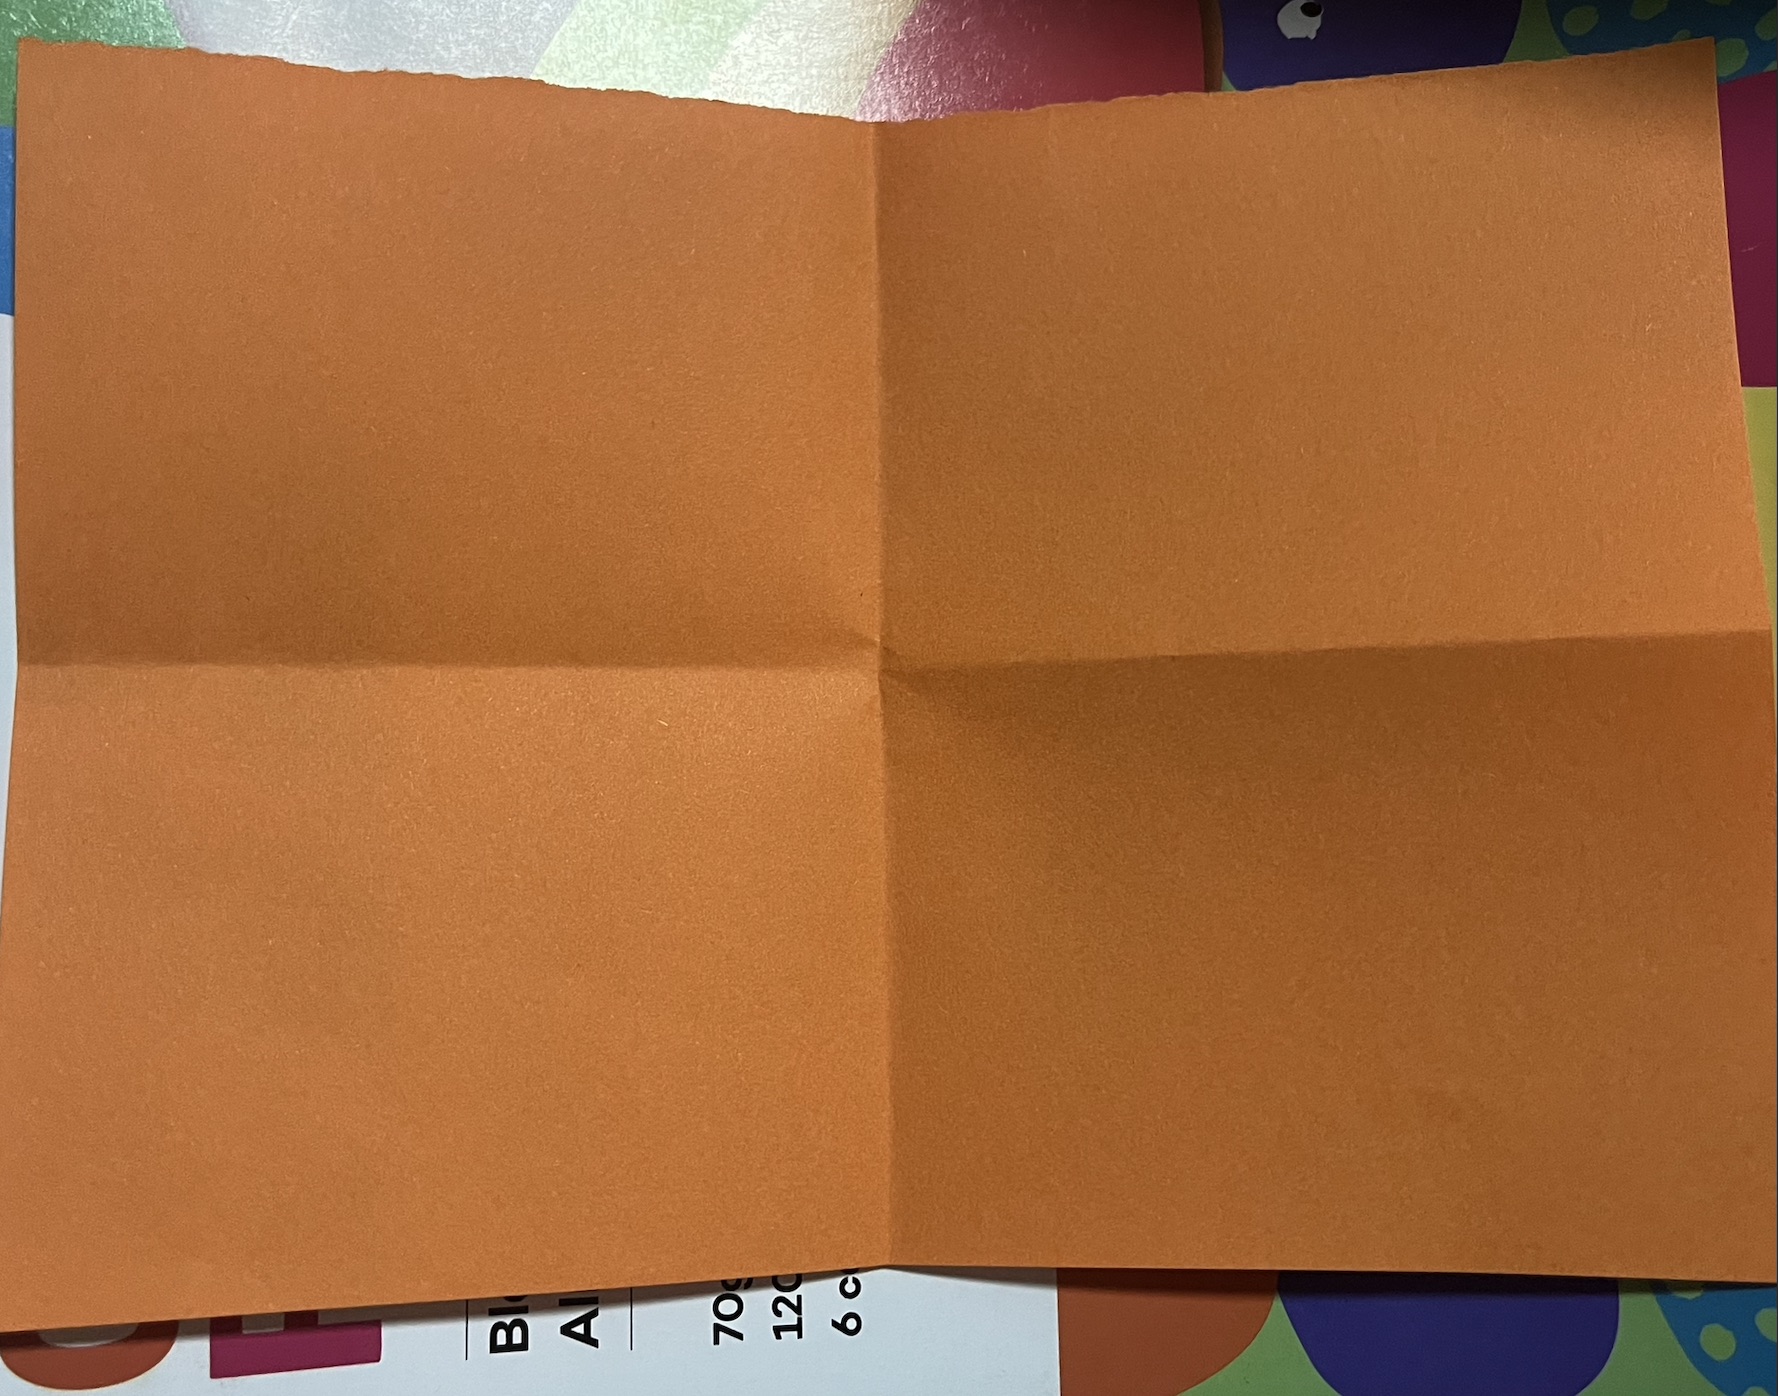
Step 1: Fold the paper into two halves to form four squares.
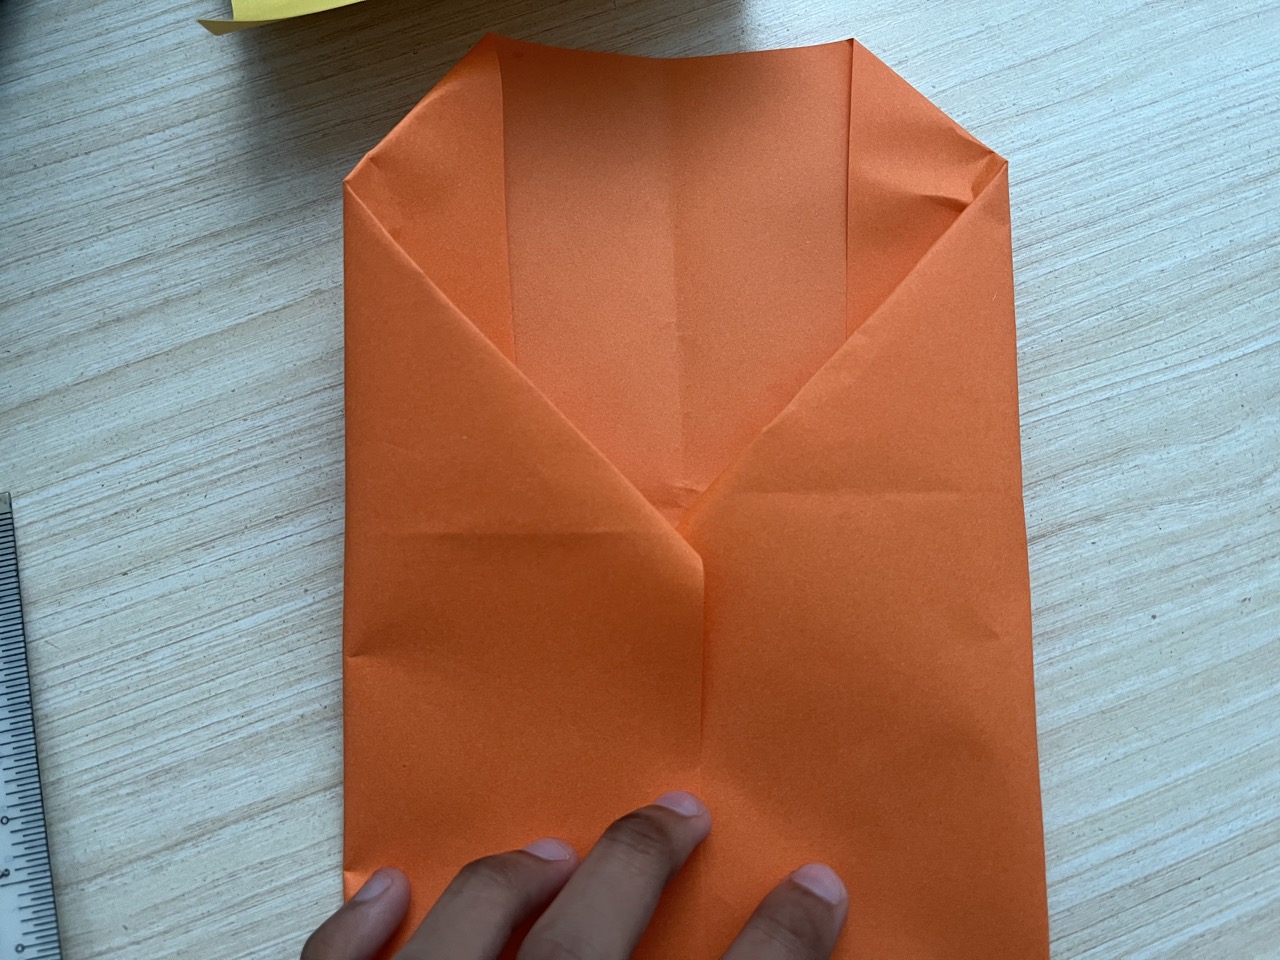
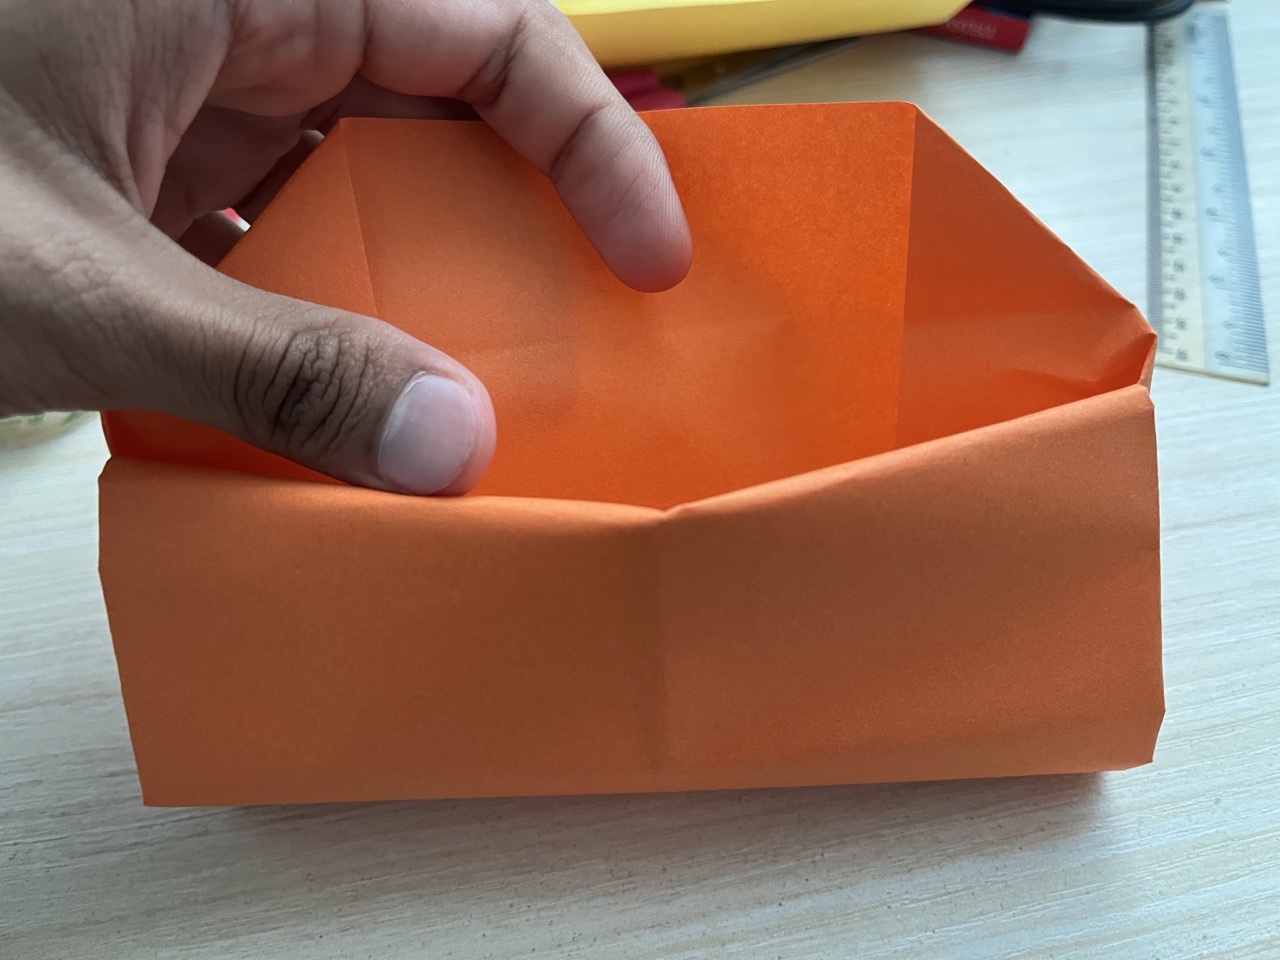
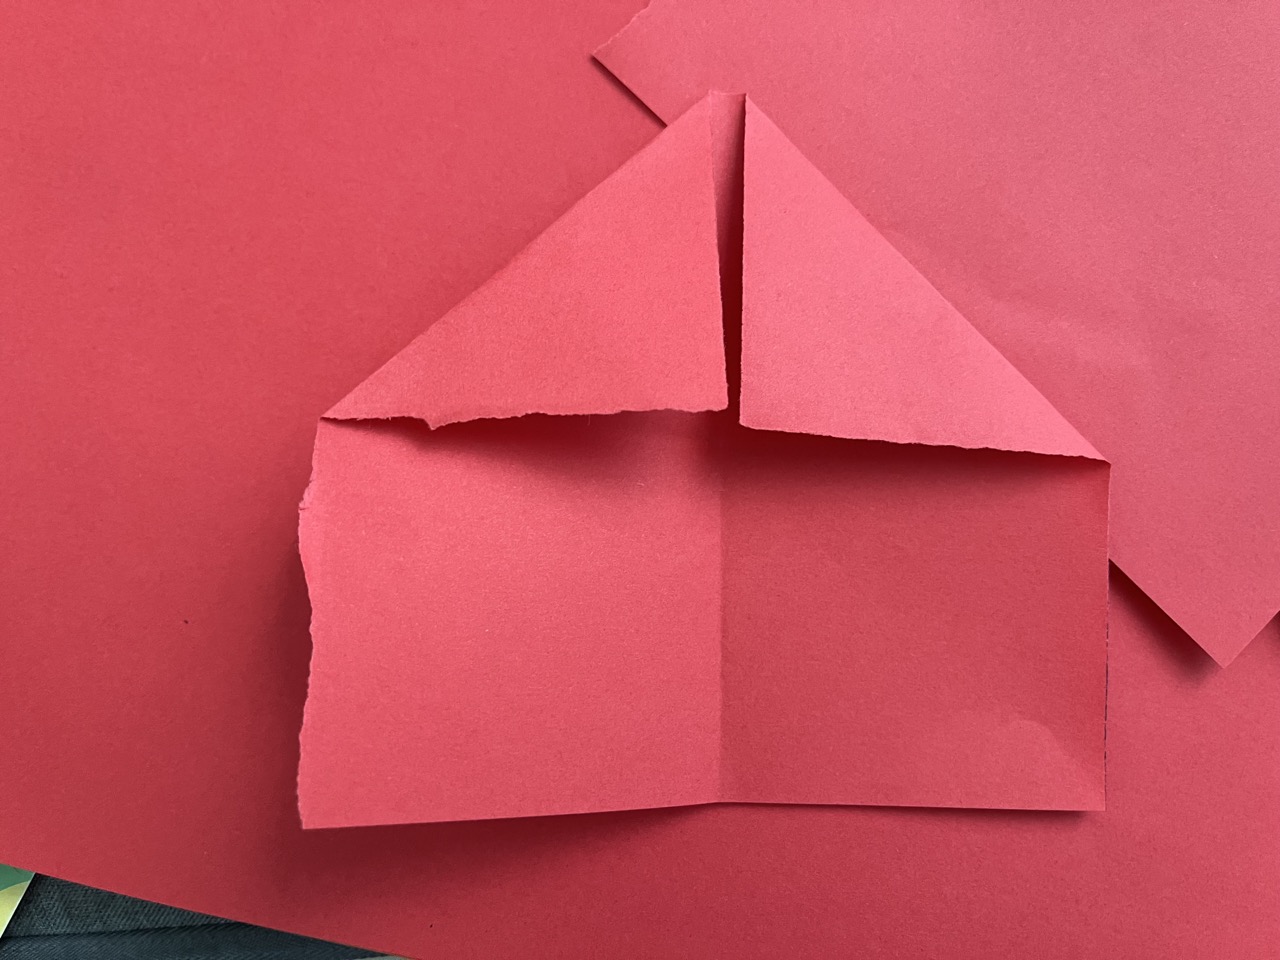
Step 2: Place the paper horizontally towards you and fold both ends of the top of the paper into a triangular shape.
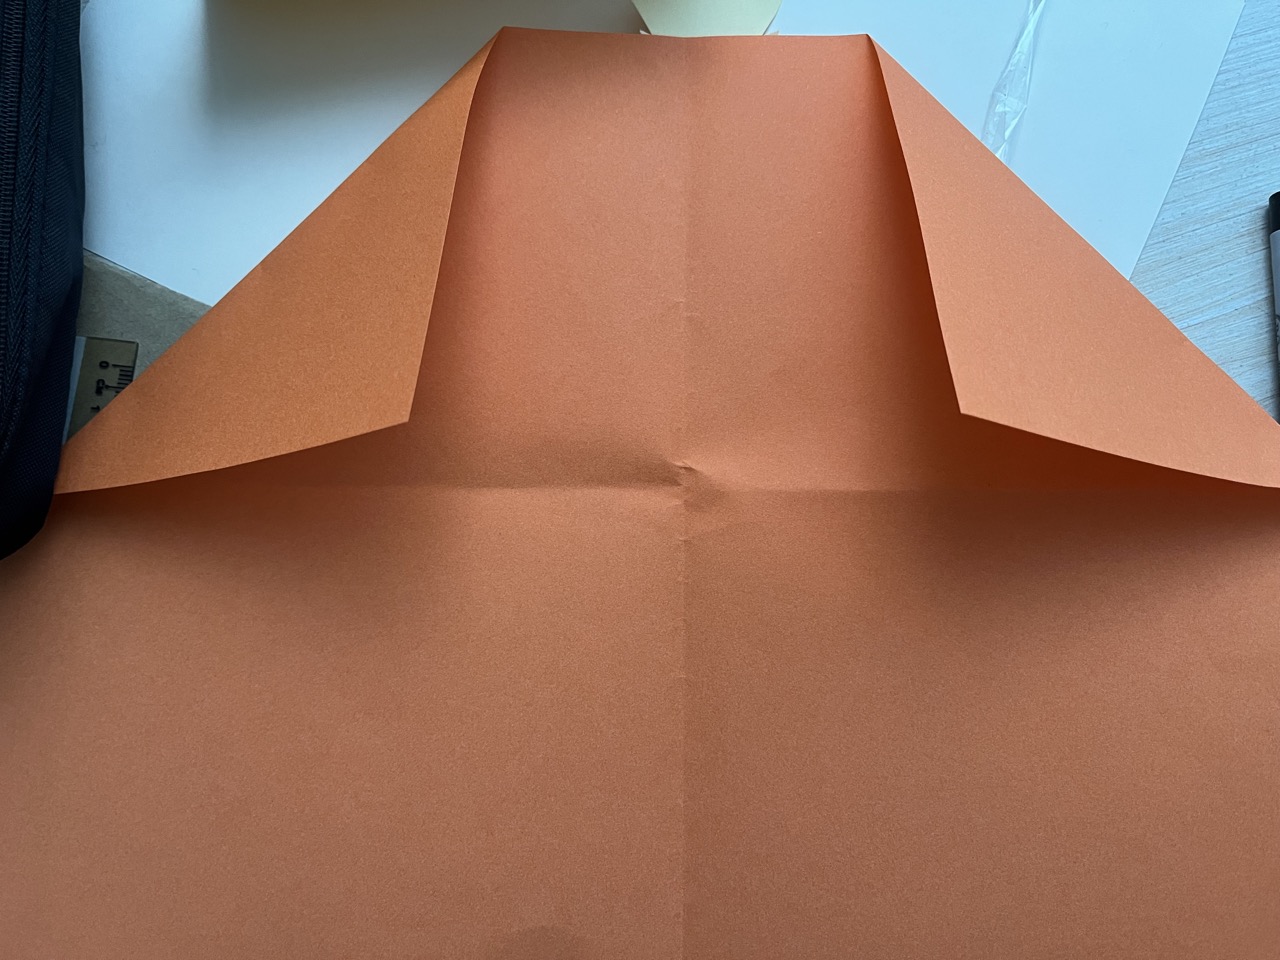
Step 3: Fold both sides of the paper towards the centre line.
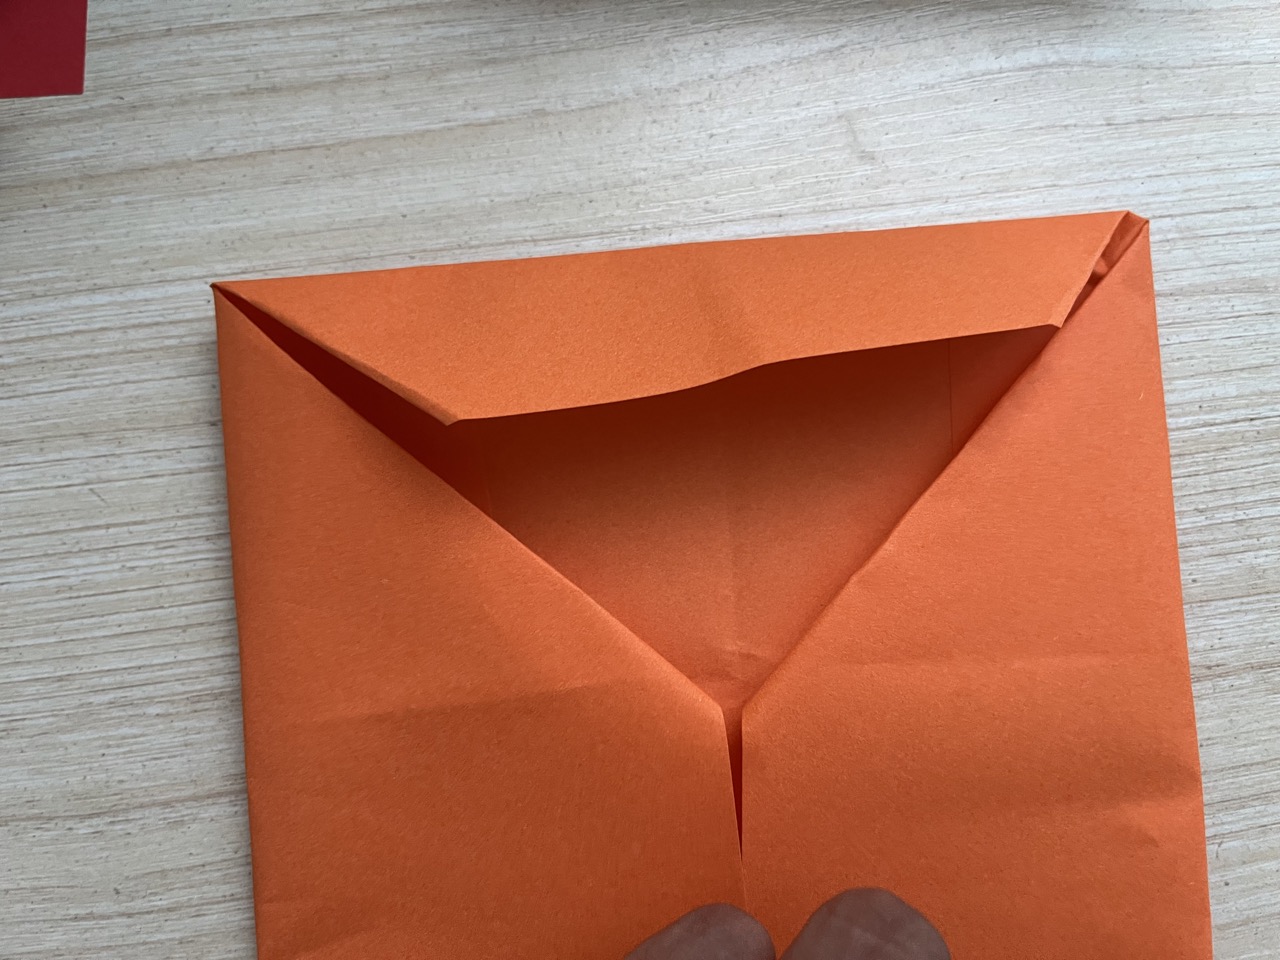
Step 4: Fold the top of the envelope inwards.
Step 5: Flip the paper onto the other side and fold three quarters of the paper, leaving about 2 cm of space from the top of the envelope.
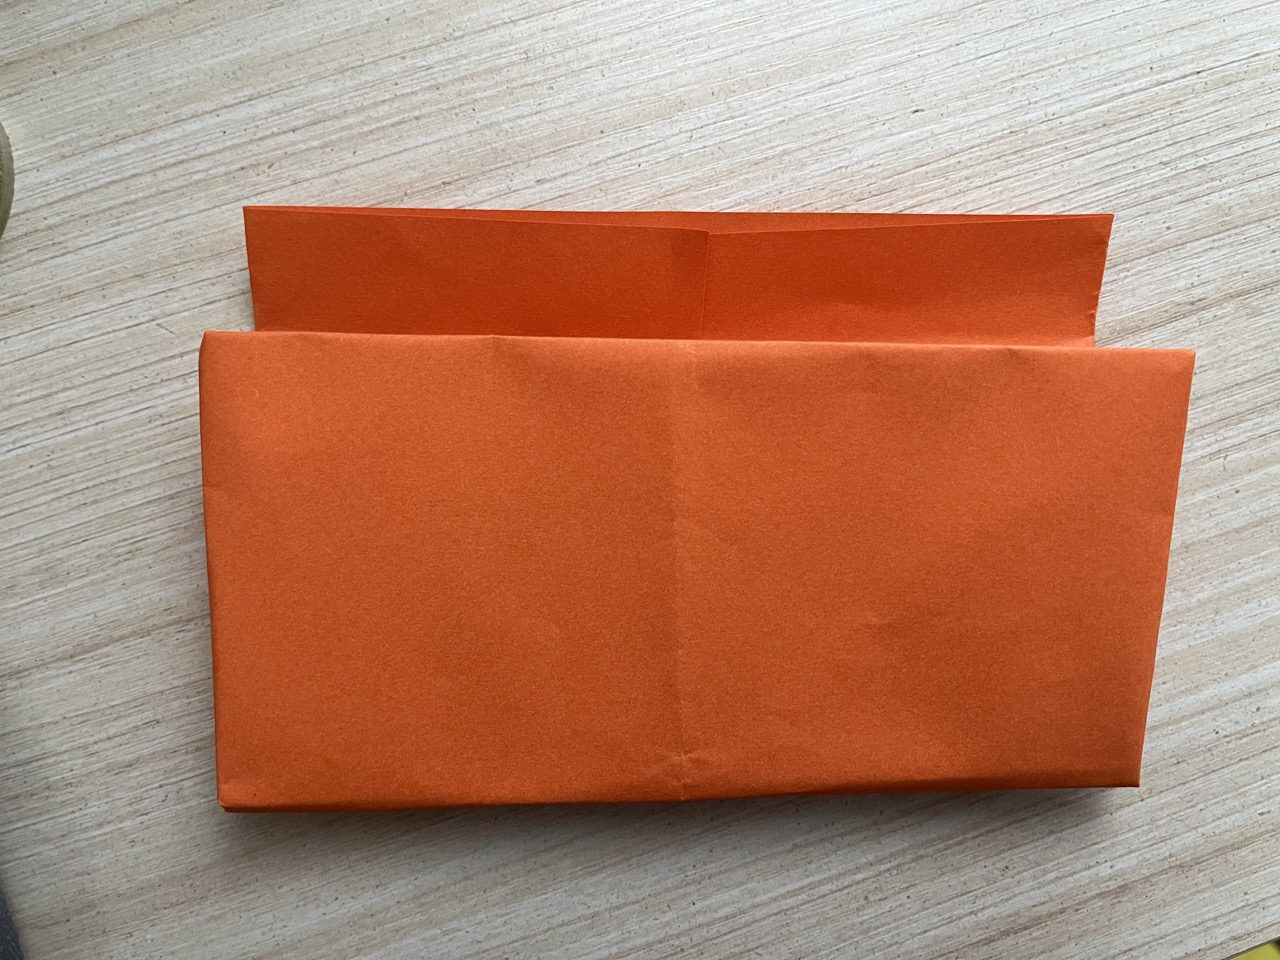
Step 6: Flip the paper to the other side once more and unfold the area you have just done from the previous step.
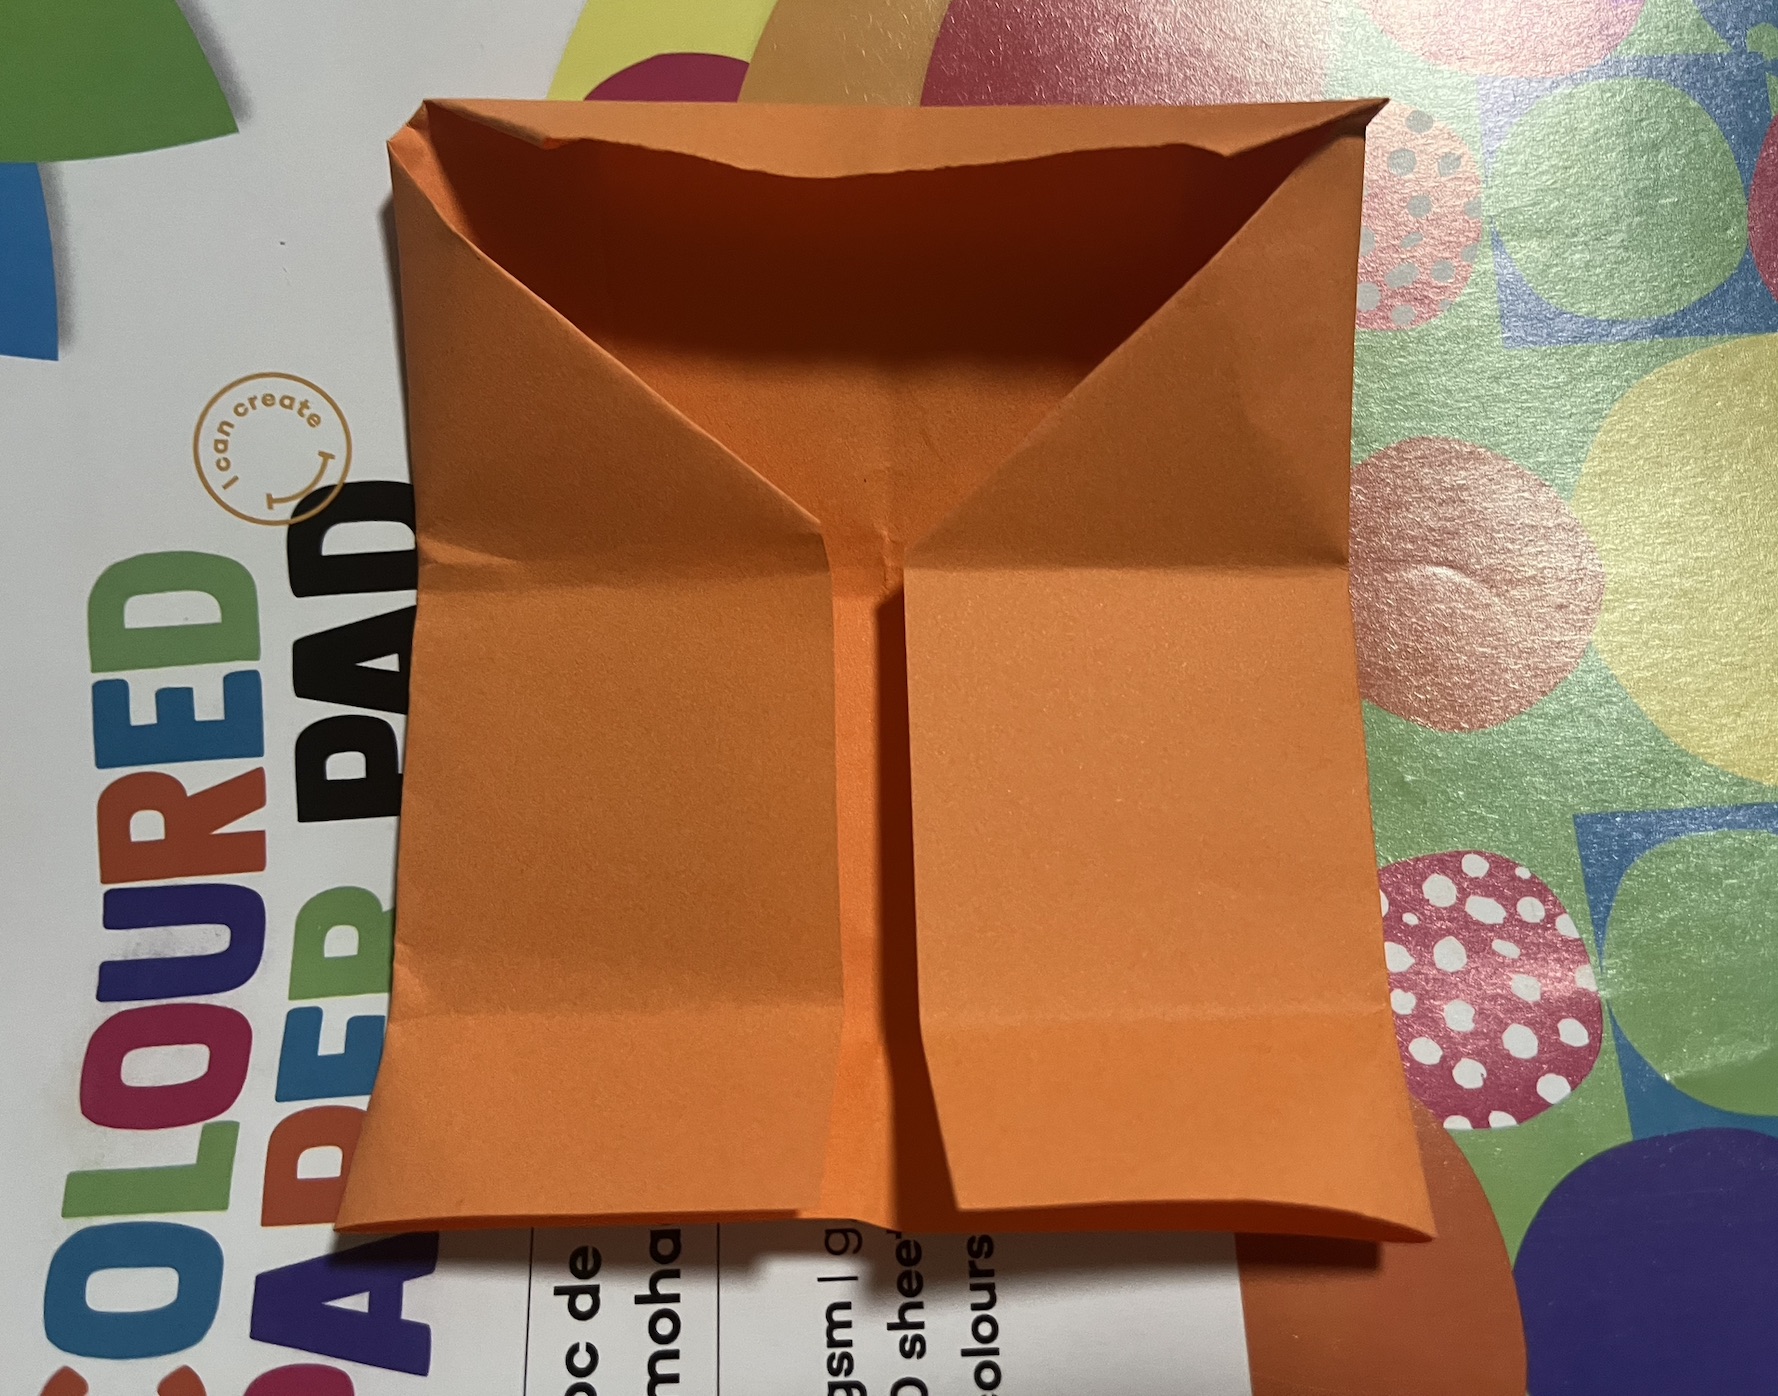
Step 7: Slot the bottom half of the envelope into the top.
Step 8: This is when the coloured markers you have prepared come in handy as you can start decorating the envelope.
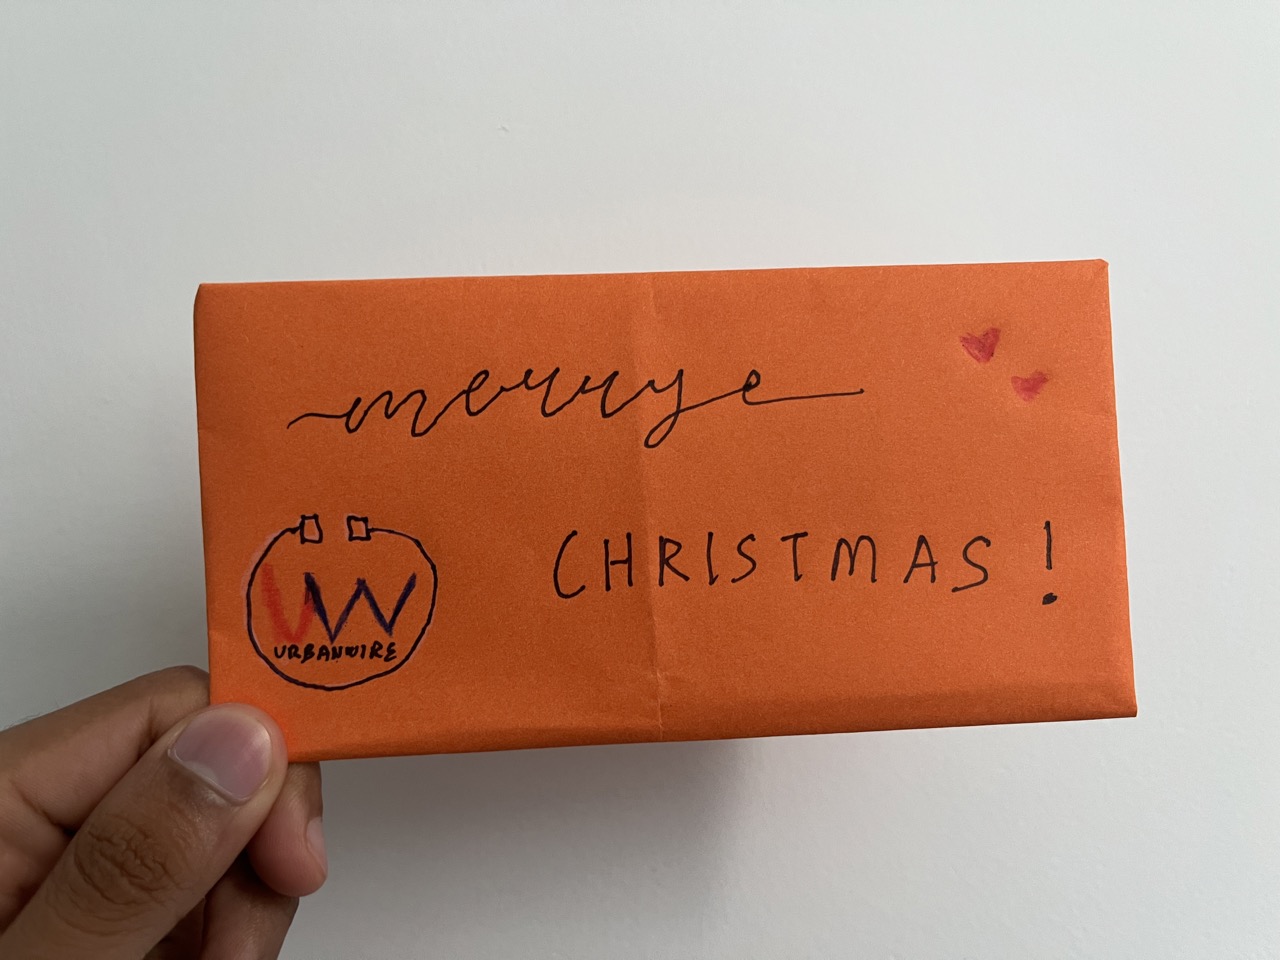
And there you go! Easy right? Now, remember to design a card and include a heartfelt message before you pass it along or even place it around the house as a decor.
2. Gift Boxes
Estimated time: 8 minutes
Next, gift boxes. Who doesn’t like receiving presents? Seeing someone’s face light up as they unwrap their presents always gets me all warm and fuzzy.
Materials needed: Cardboard from a toilet roll, ribbon strips, coloured paper, a pair of scissors, and a roll of tape.
Step 1: Cut a small piece of the cardboard.

Step 2: Fold the edges on the two ends of the cardboard inwards. Tape them up and ensure that there are no gaps.
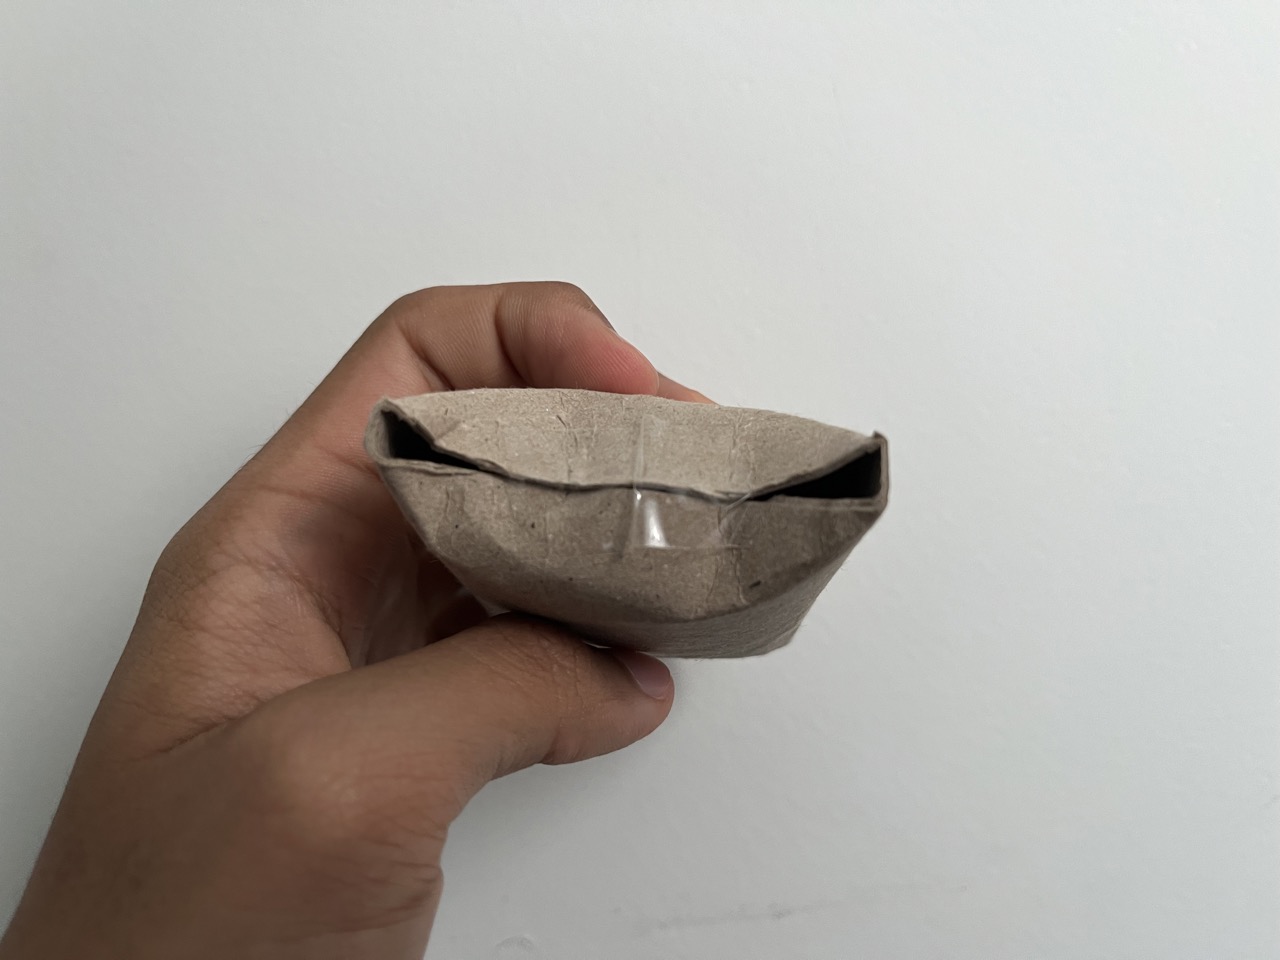
Step 3: To add colour, wrap your choice of coloured paper around the cardboard square you have made. Tape them down.
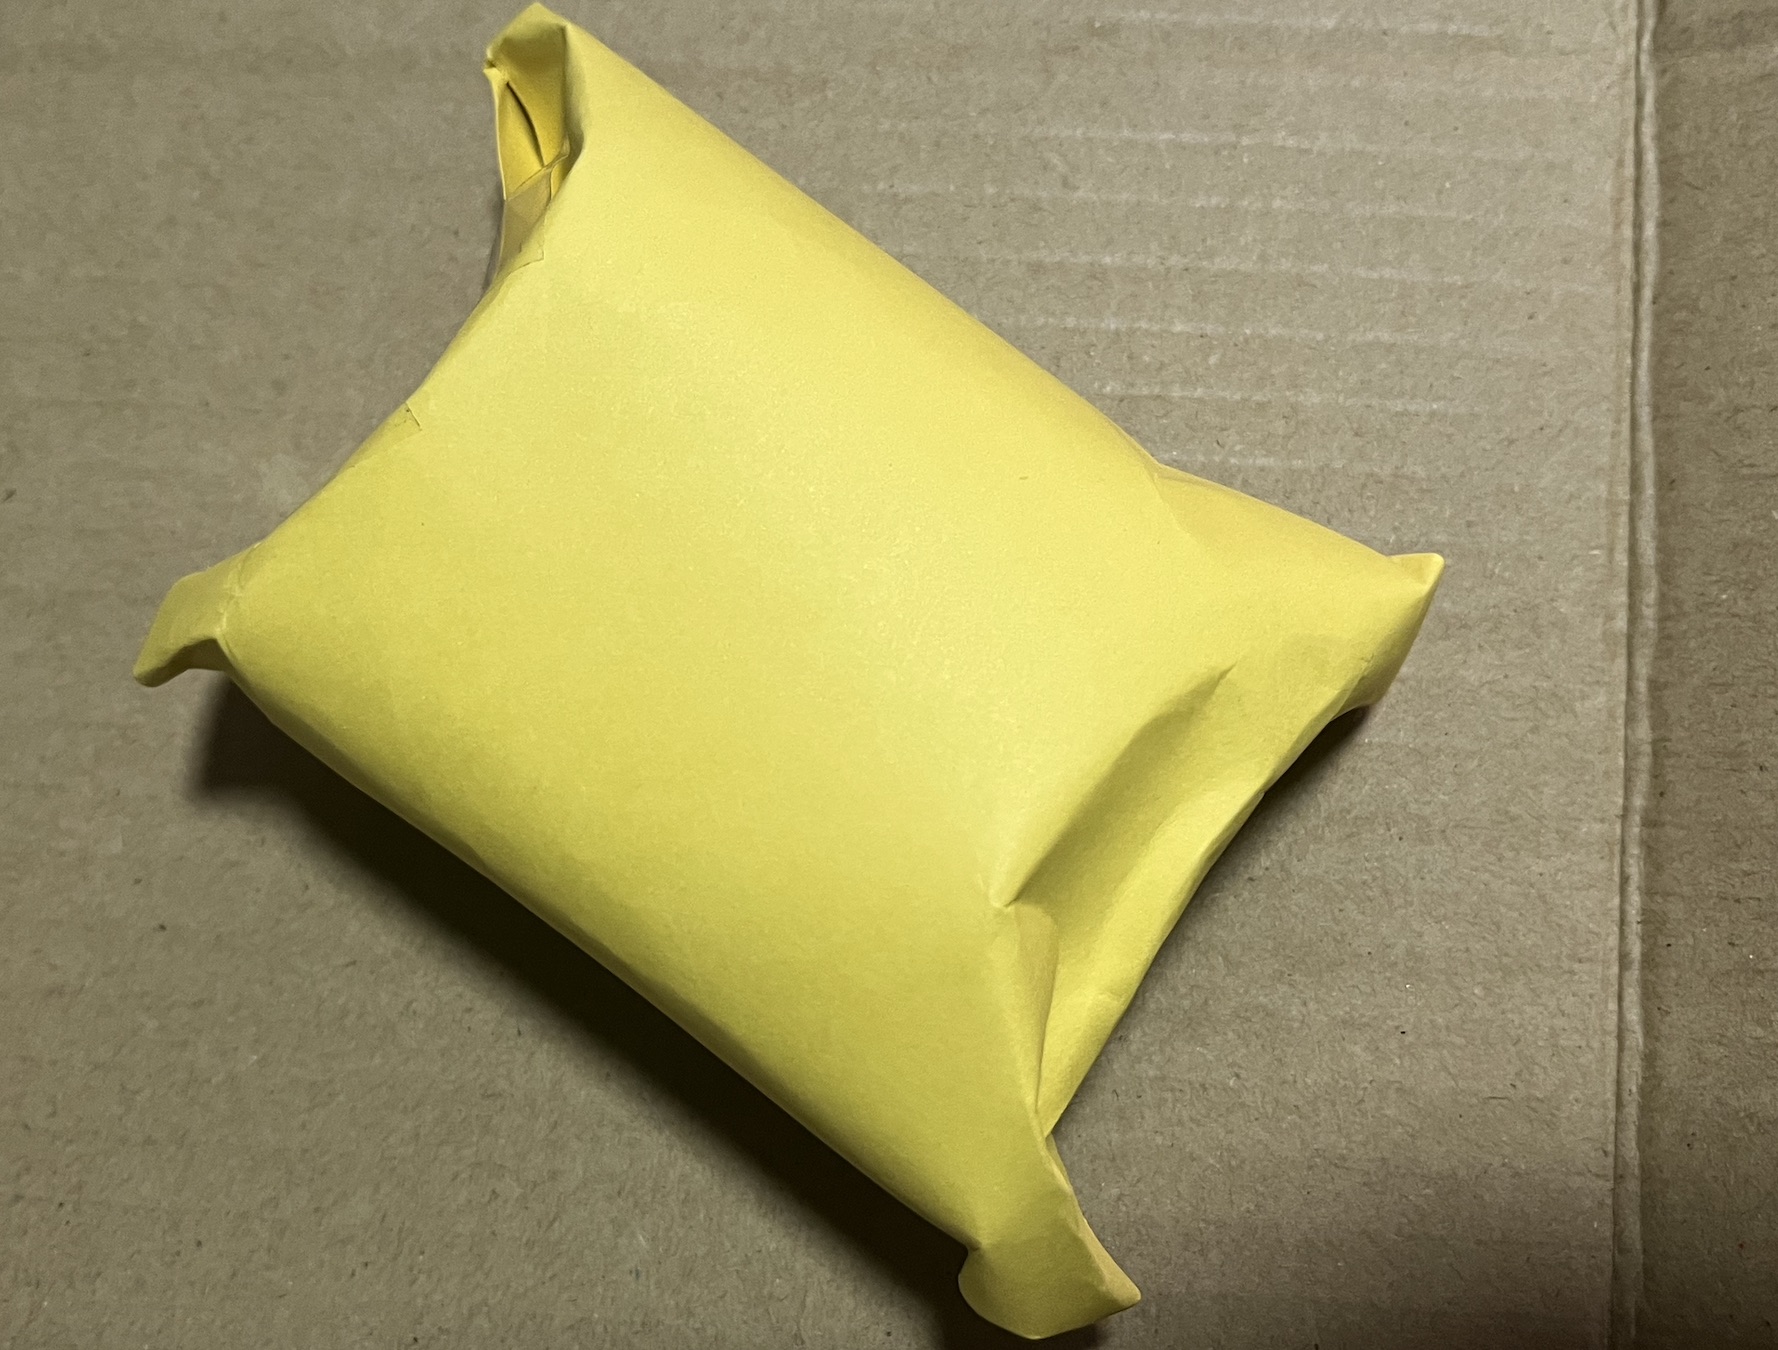
Step 4: Tie a ribbon around the box and you are all set.
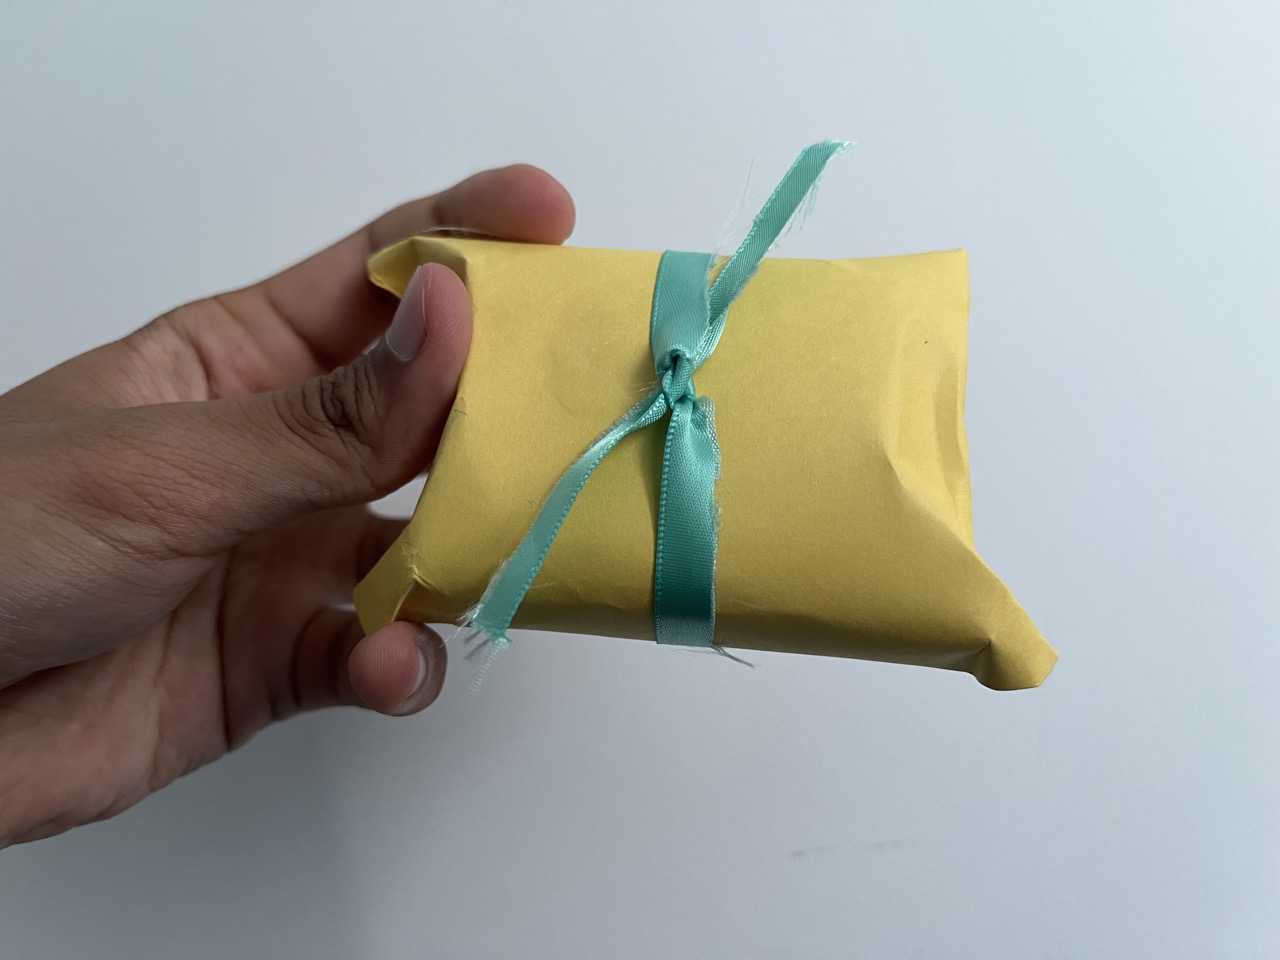
Look at how cute the gift box is. You can even create various sizes of the gift boxes. Give it a go!
3. Snowman
Estimated time: 10 minutes
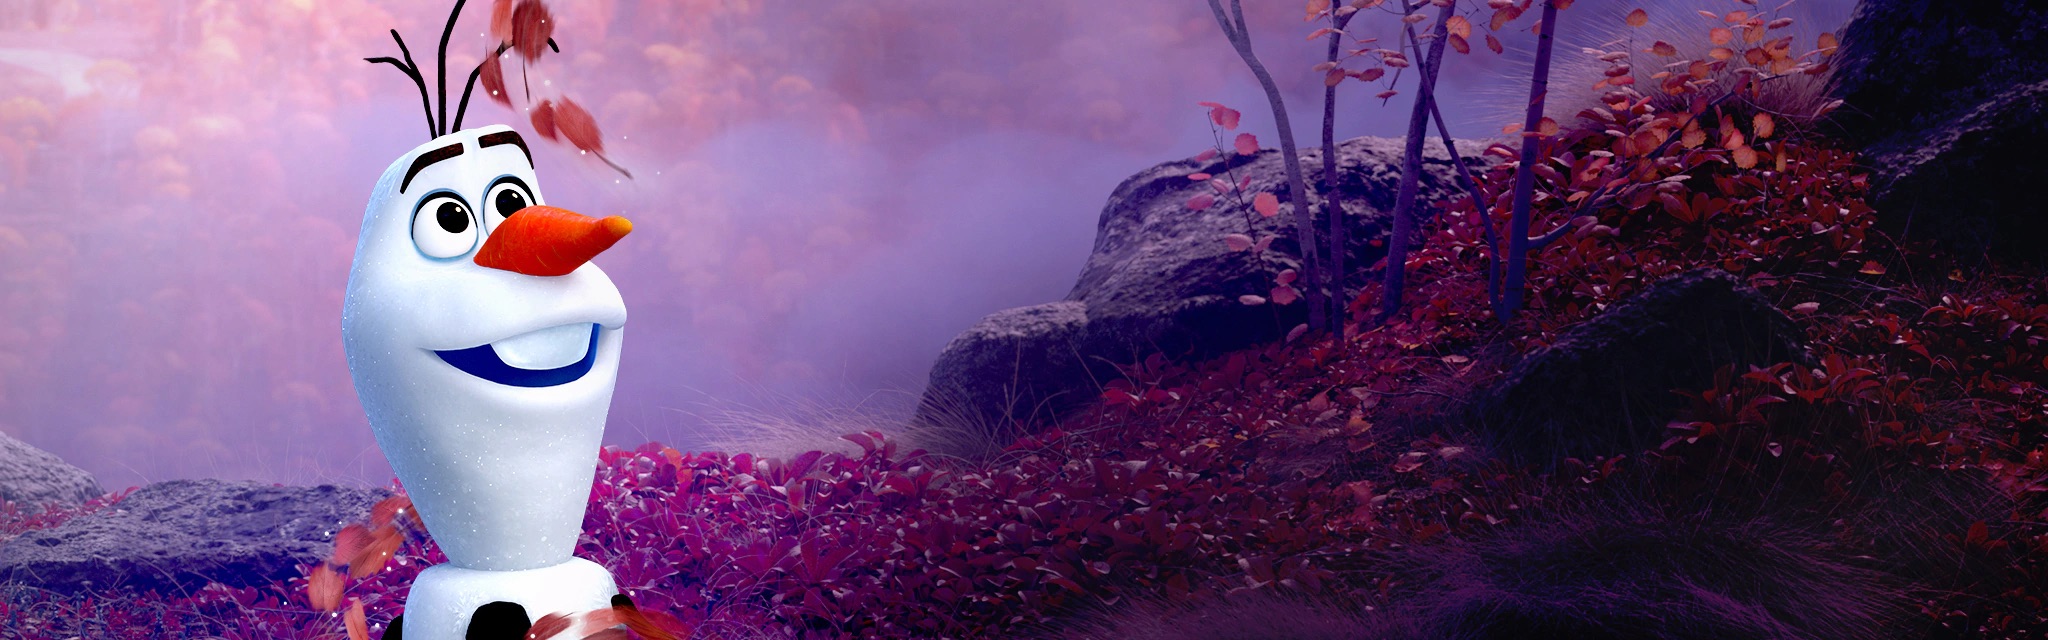
Are you familiar with Olaf? A snowman character in the animated film, Frozen, where Elsa creates Olaf from snow using her magical powers. Let’s try and create our version of “Olaf” with our crafting powers.
Materials needed: High knee socks, coloured paper, thumb tack pins, ribbon strips and a roll of tape.
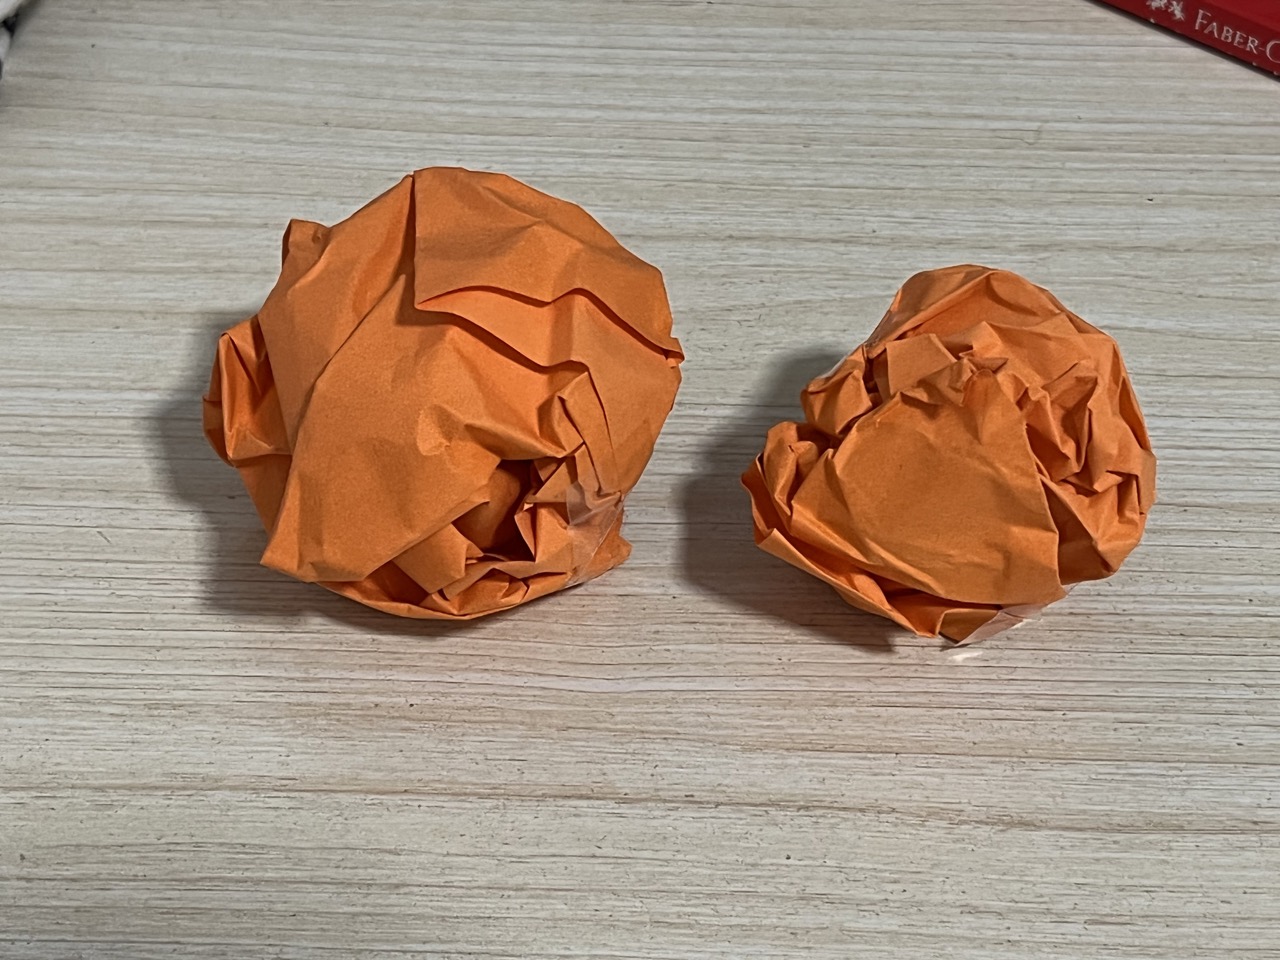
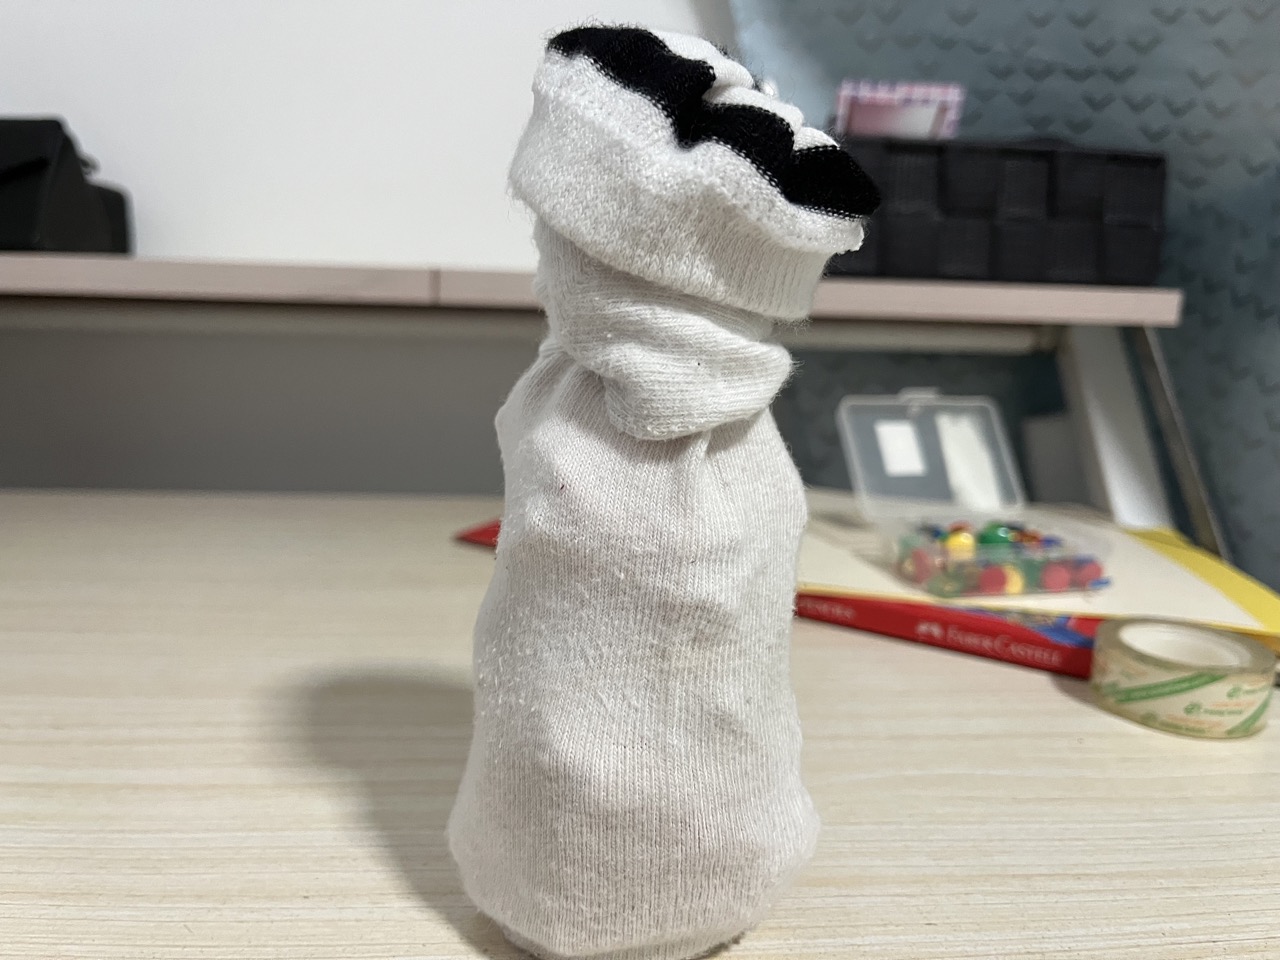
Step 1: Crumple two paper balls, one bigger than the other. Tape the edges to create perfect spheres.
Step 2: Insert the paper balls into the sock, with the bigger one at the bottom. (By now, you should be able to see the body of the snowman form.)
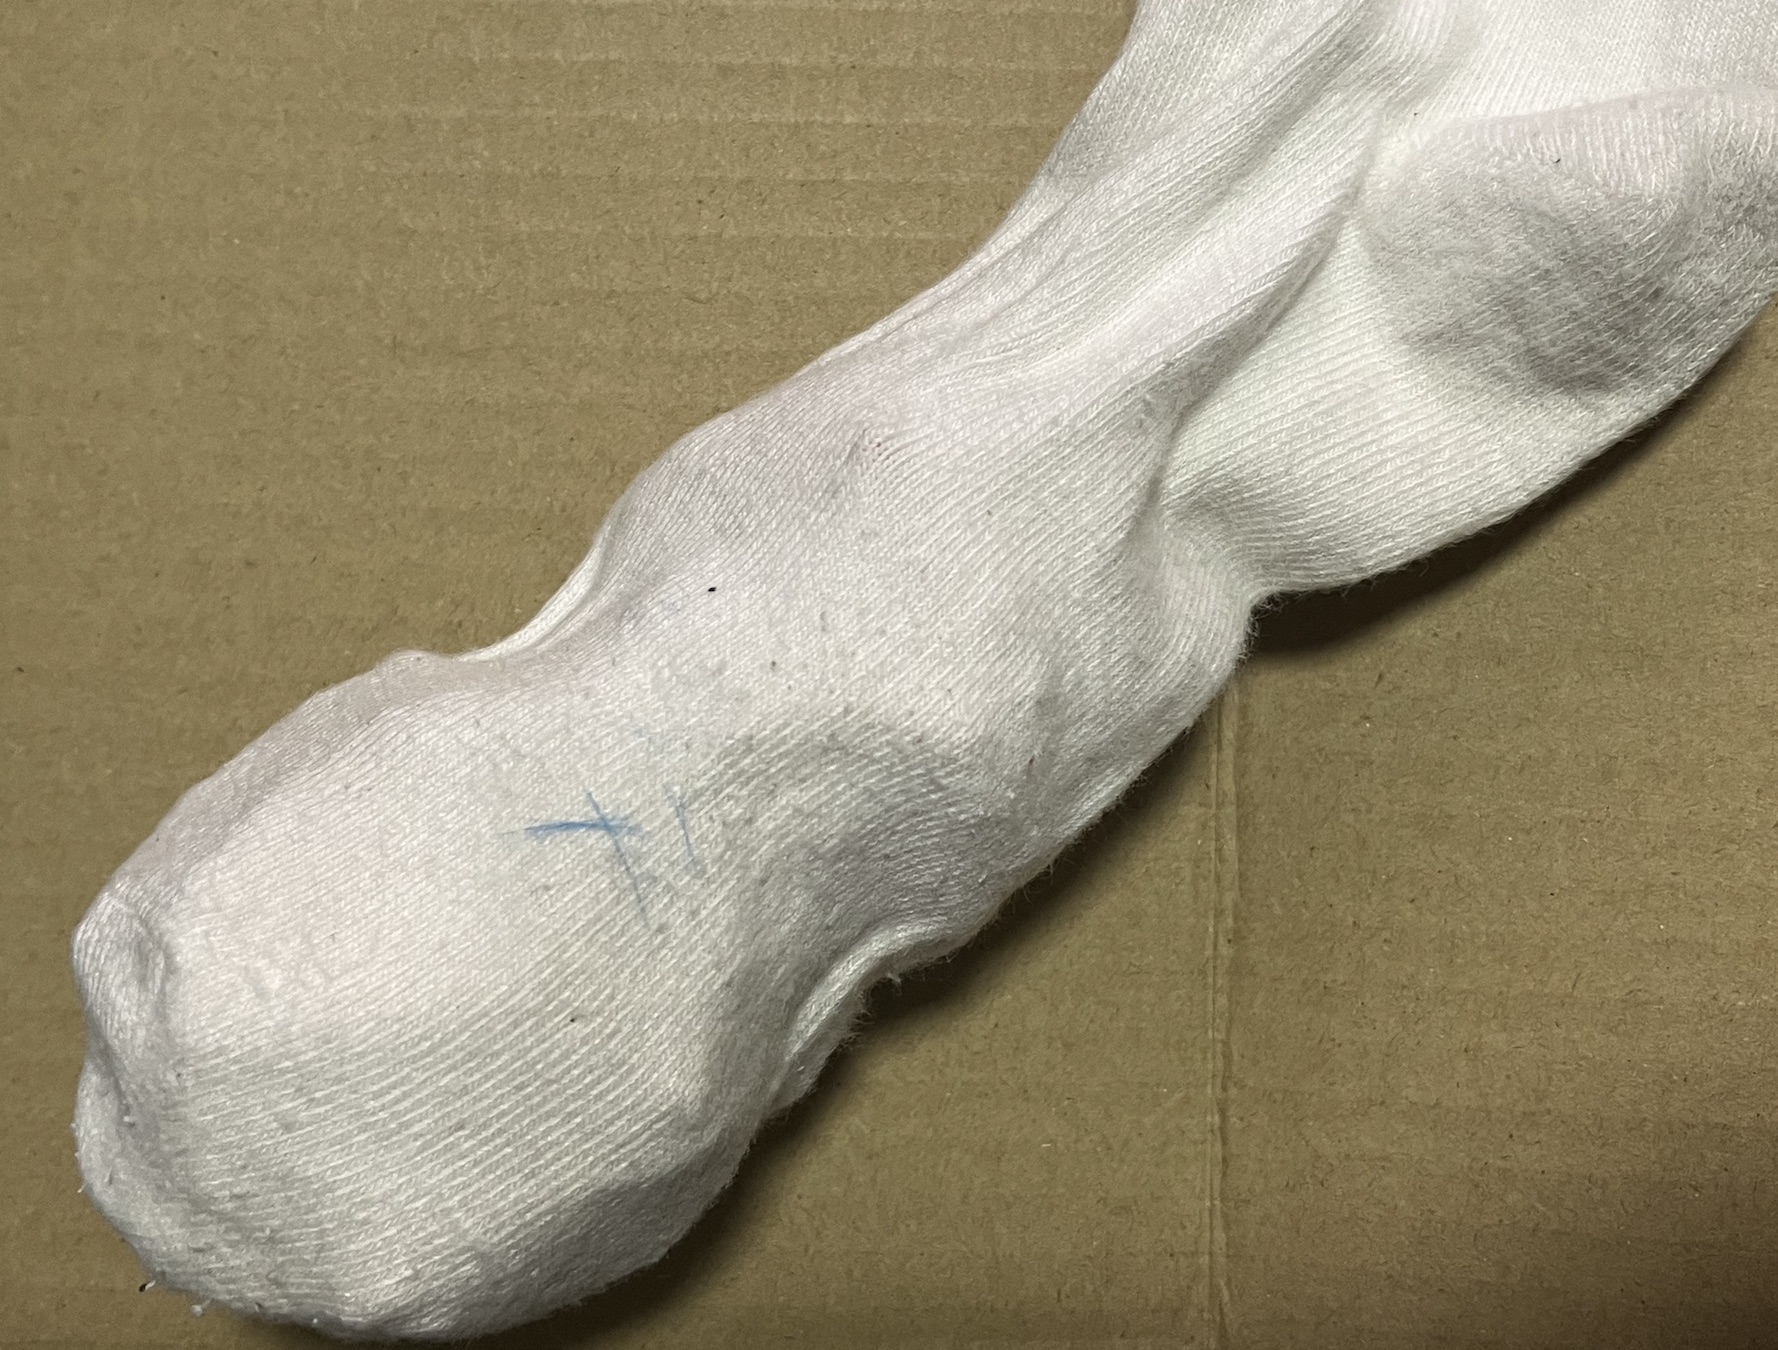
Step 3: Tie a knot at the top of the sock and fold the edges inwards.
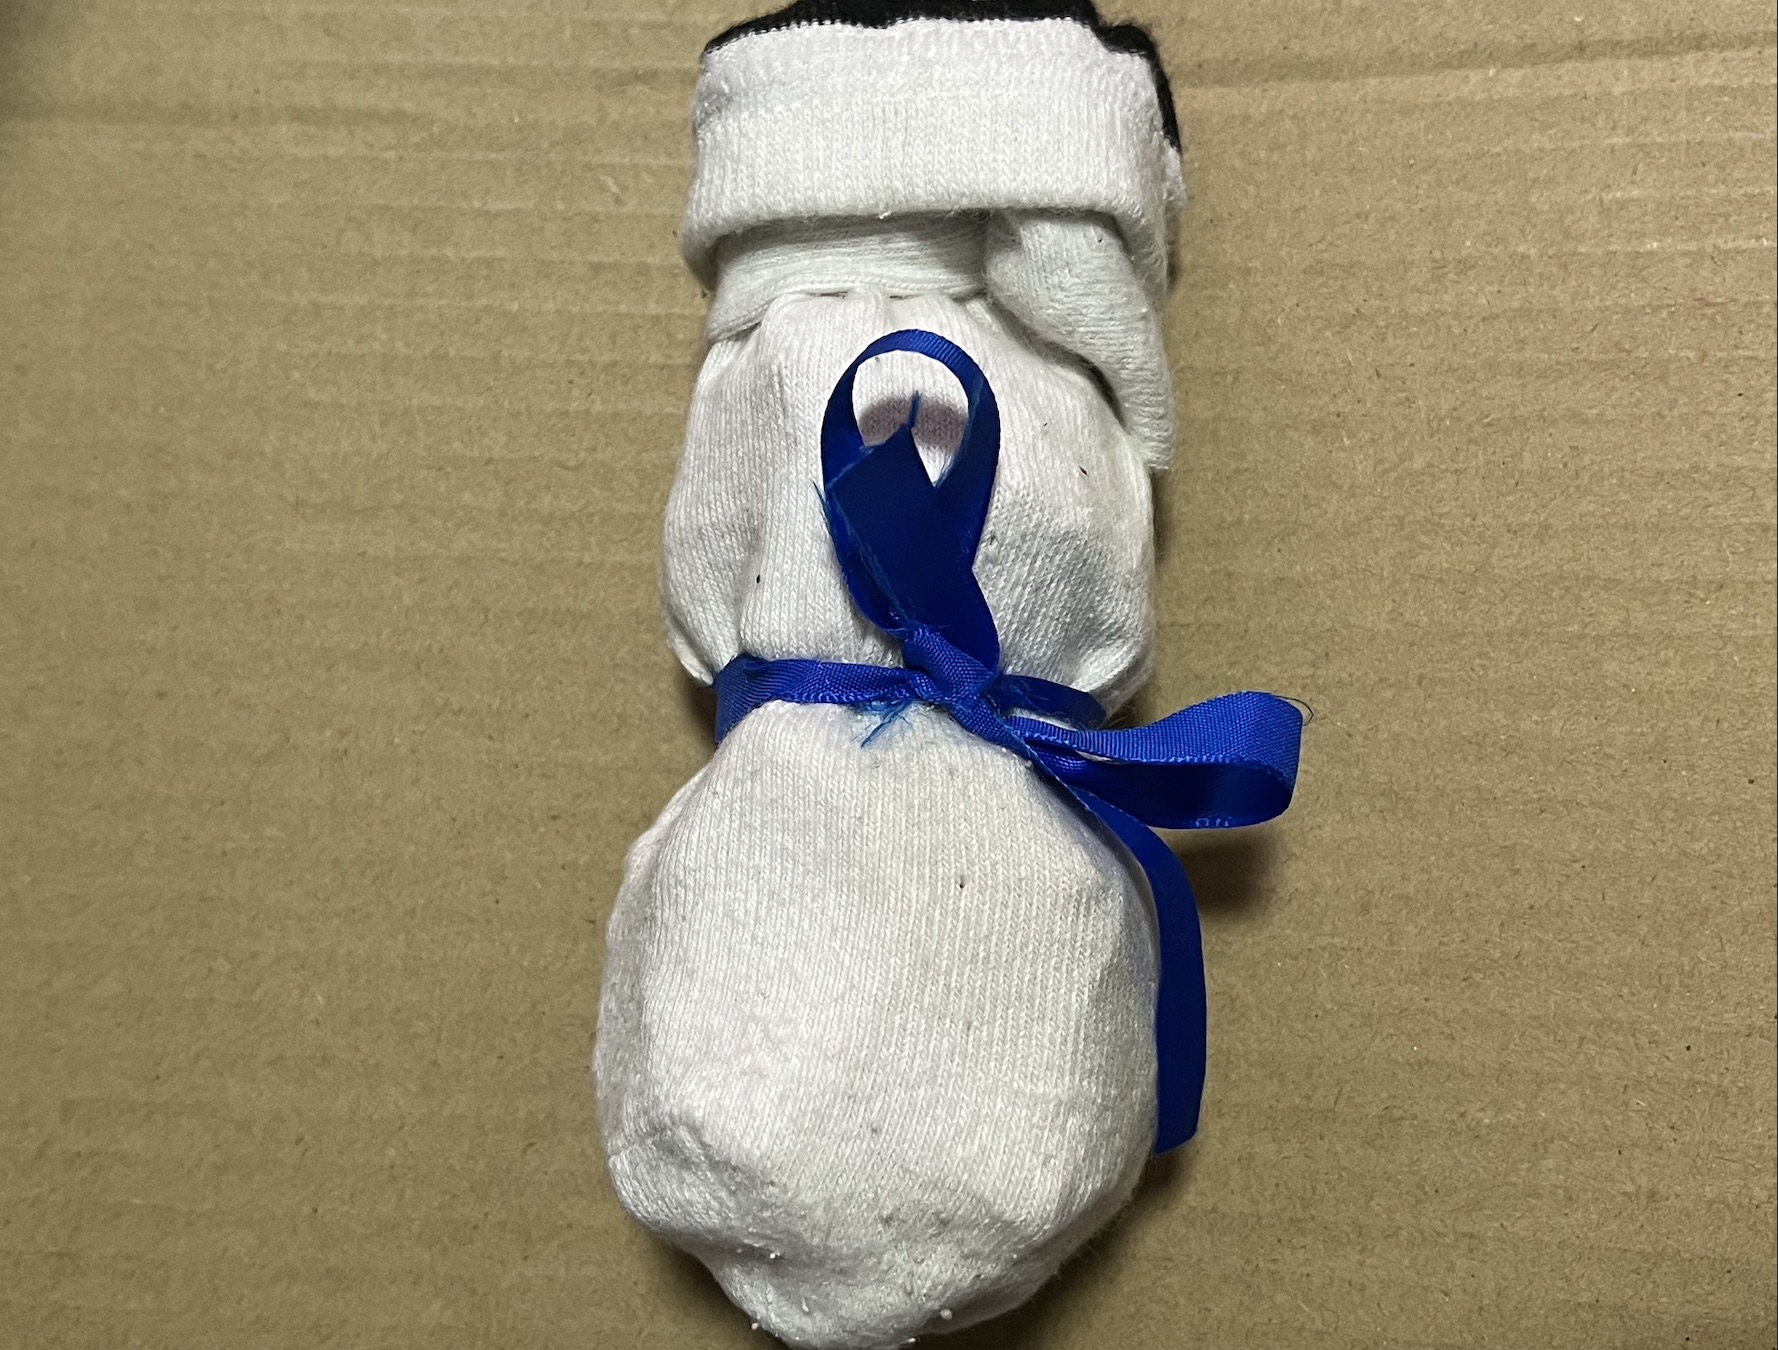
Step 4: Circle the ribbon around the sock, between the two paper balls to separate them. (If you do not have a supply of ribbon strips, cut strips of coloured paper which are 1 cm in breadth and 20 cm in length.)
Step 5: What’s left is to design them any way you want by adding colourful thumb tacks. Afterall, colours can be associated with different types of personalities.

Ta-da! You have created your very own version of “Olaf”.
4. Christmas Tree
Estimated Time: 15 minutes
Did you know? Christmas trees used to be symbolic to the Egyptians and the Romans for having the ability to ward off supernatural entities. Now, their use has become secular, with people worldwide immersing themselves in the festivity!
Materials needed: Coloured paper, colour pencils, a marker, and roll of strings.
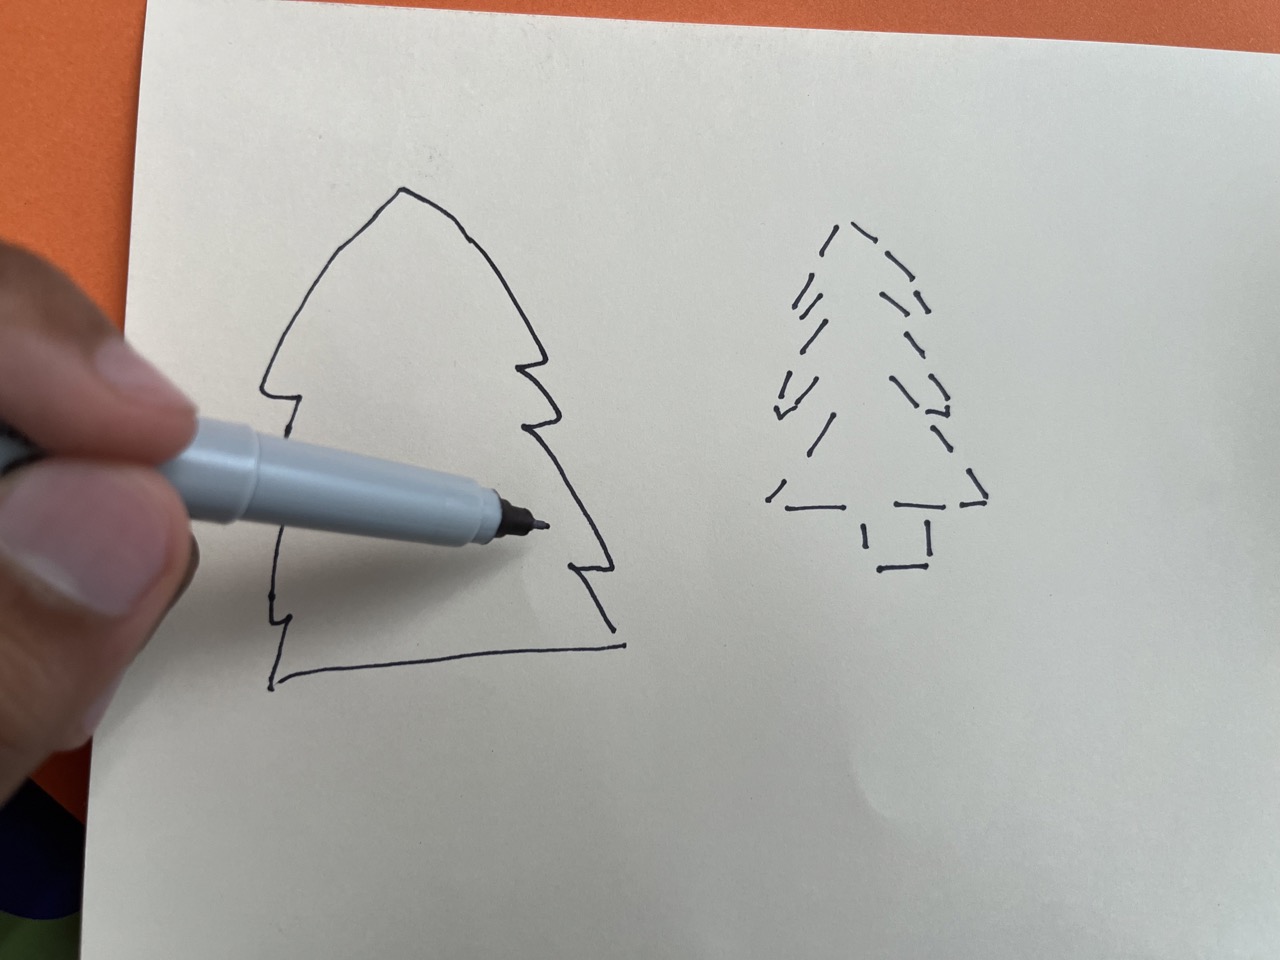
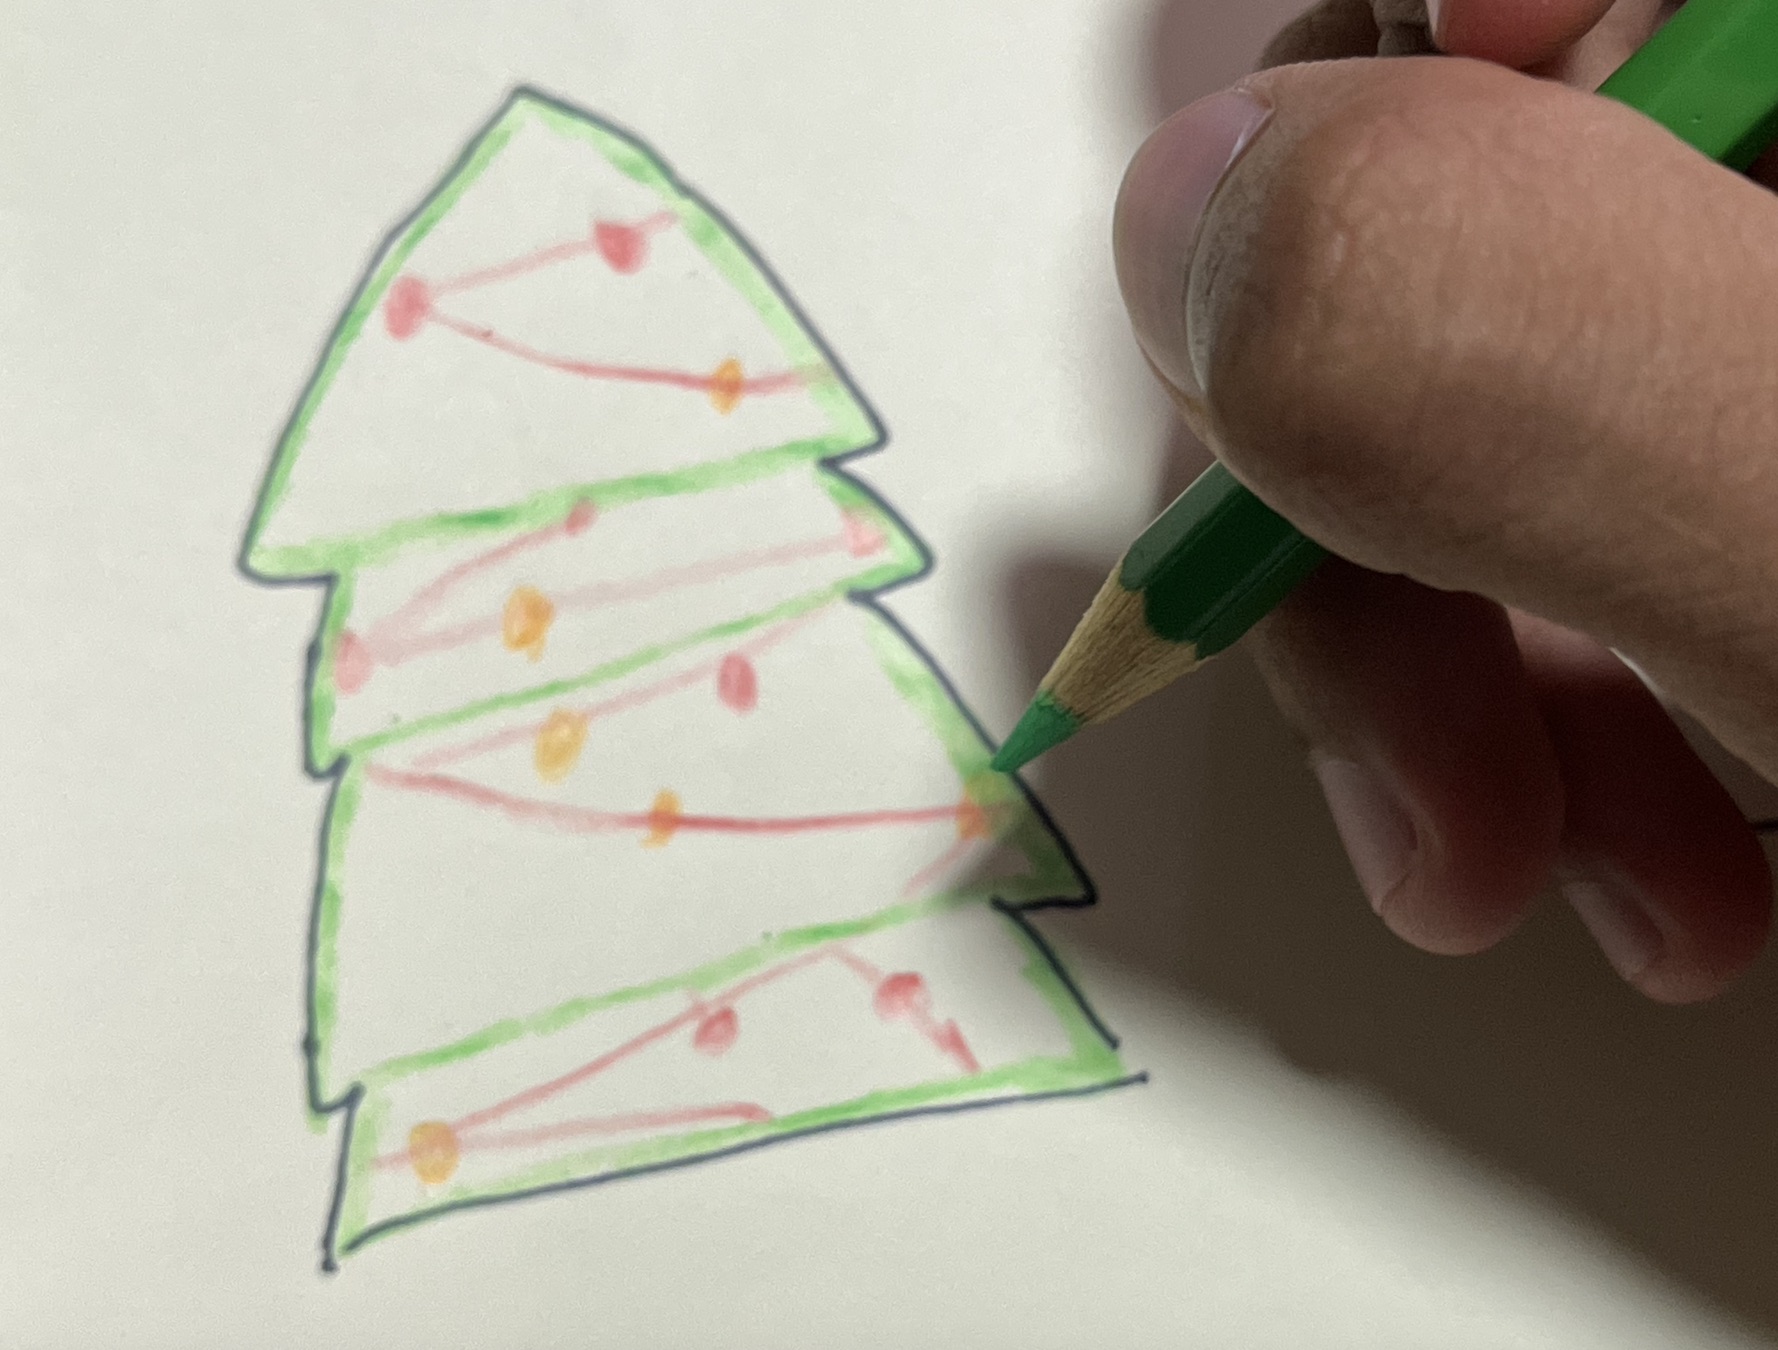
Step 1: Draw the outline of the Christmas tree on a piece of paper. It’s time to show off your creativity!
Step 2: Start colouring your drawings. I strongly recommend for the drawings to be coloured so that it catches the eye of your visitors.
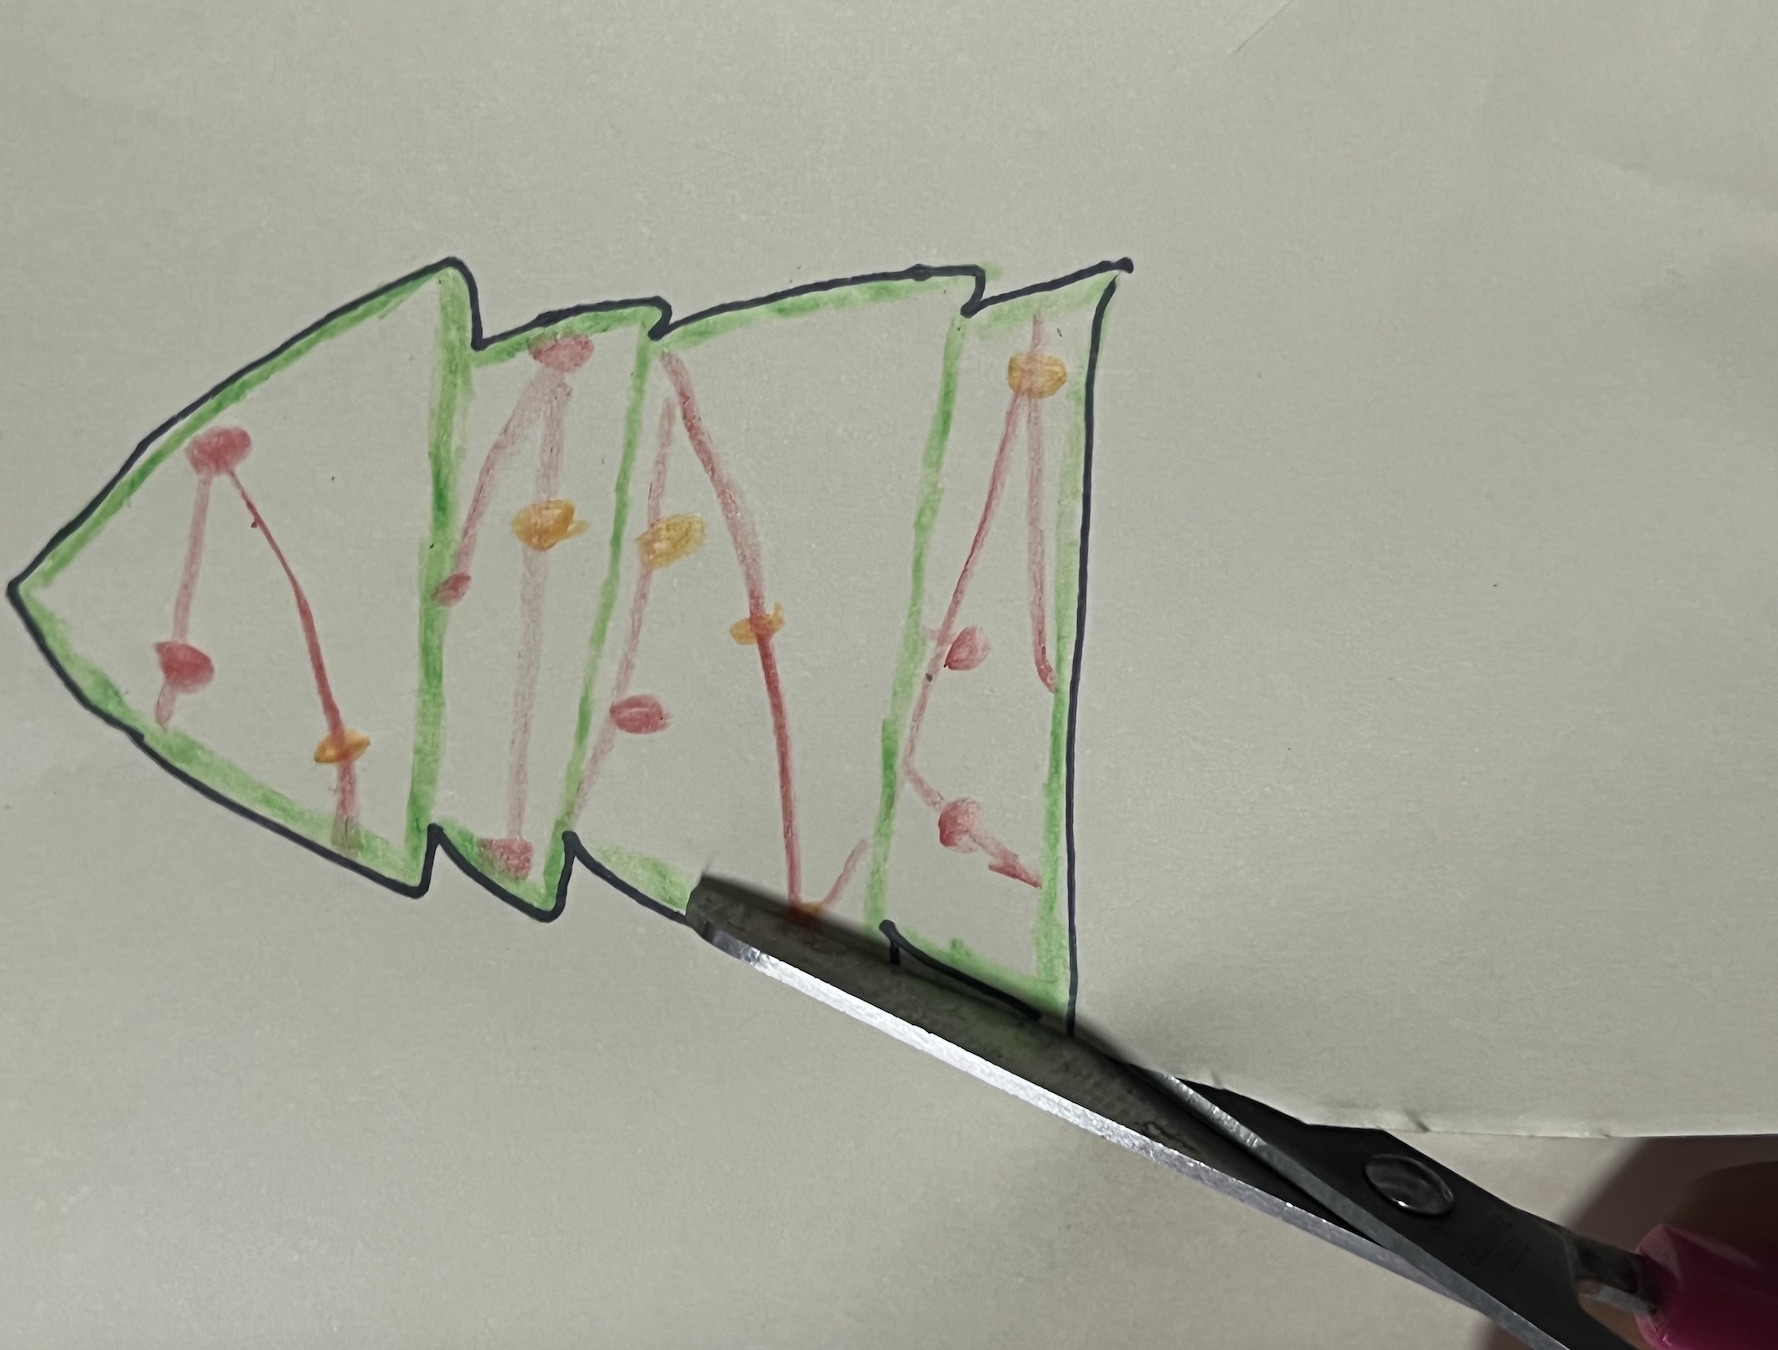
Step 3: You can start cutting out the Christmas trees by following the outline. Look at how drawing the outline has made it much convenient for you!
Step 4: Fold the top centre of your Christmas tree and poke a tiny hole with a scissors. For those who have rolls of strings at home, you can slot the Christmas trees onto the string.
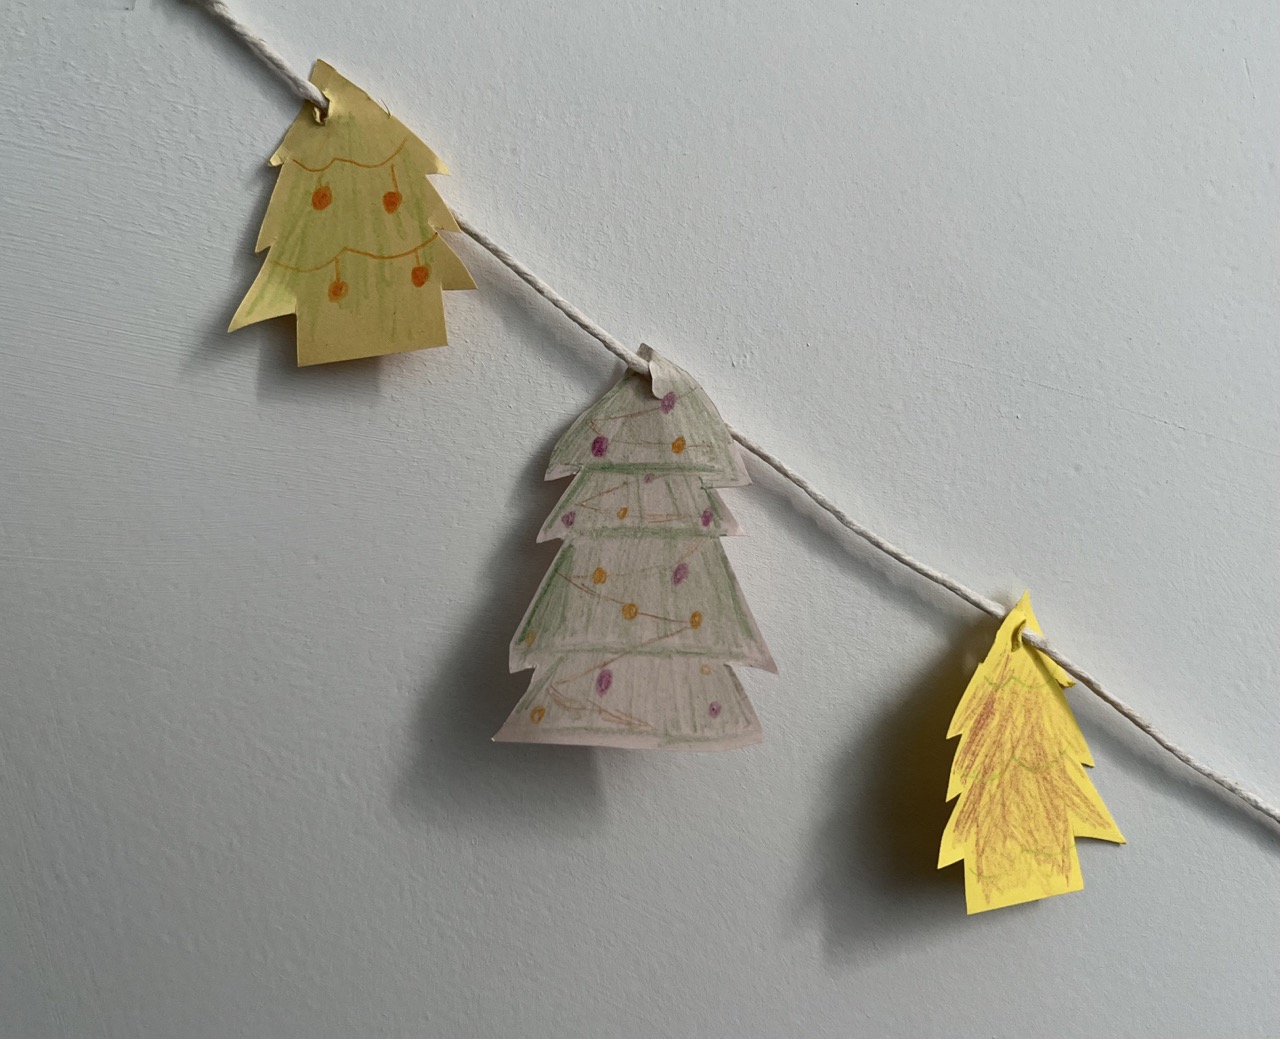
Your visitors won’t miss out on this beautiful sight!
5. Christmas Lollipop
Estimated time: 20 minutes
During Christmas, there is an abundant supply of candy canes and Christmas lollipops to satisfy your sweet tooth – all of different shapes and flavours too! Today, you can make your own Christmas lollipop in four easy steps.
Materials needed: Two paper plates, cardboard from a toilet roll, coloured paper, colour pencils, and a roll of tape.
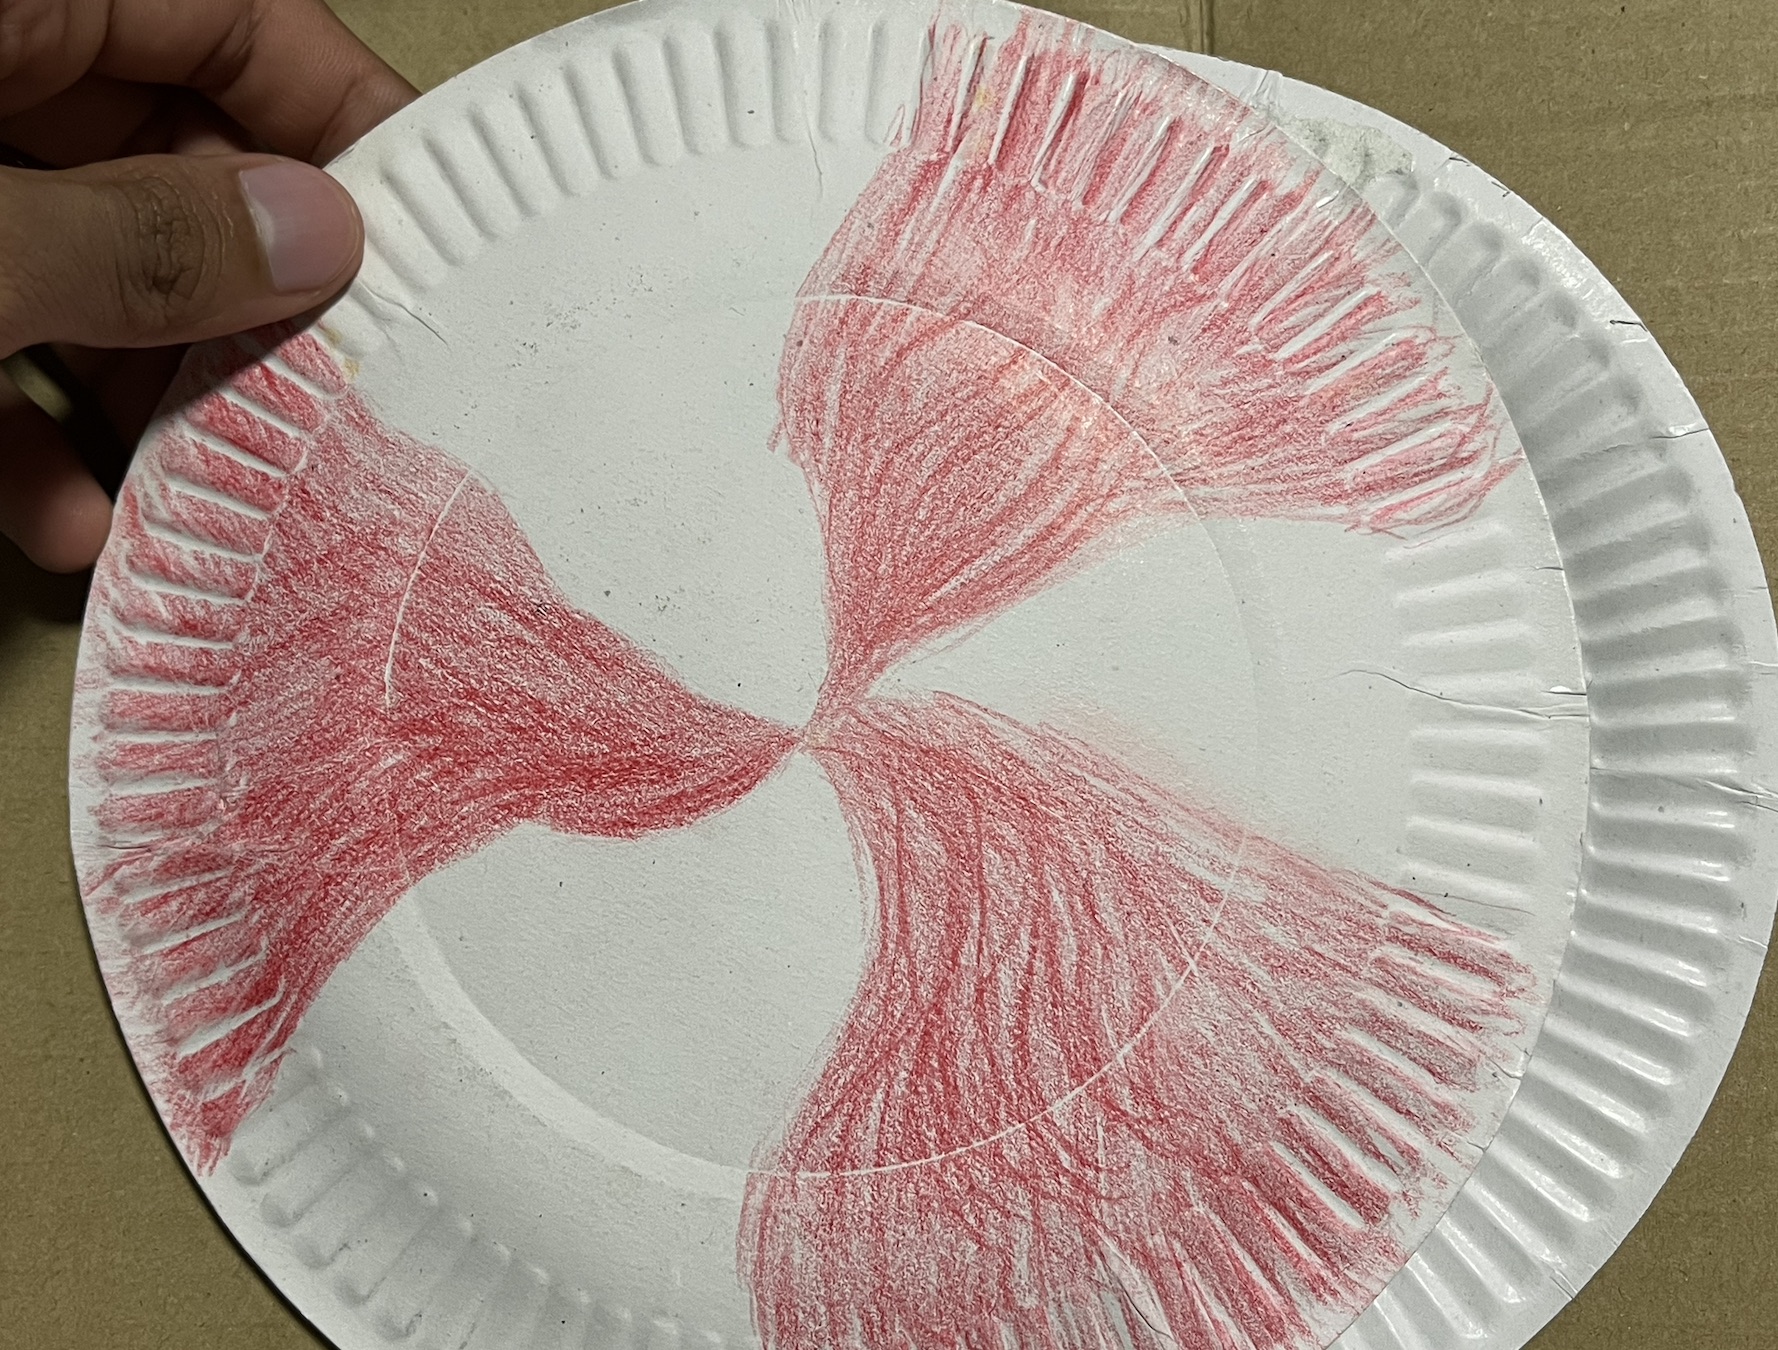
Step 1: Colour the paper plates to your liking. As colouring takes up majority of the time, do manage your time properly.
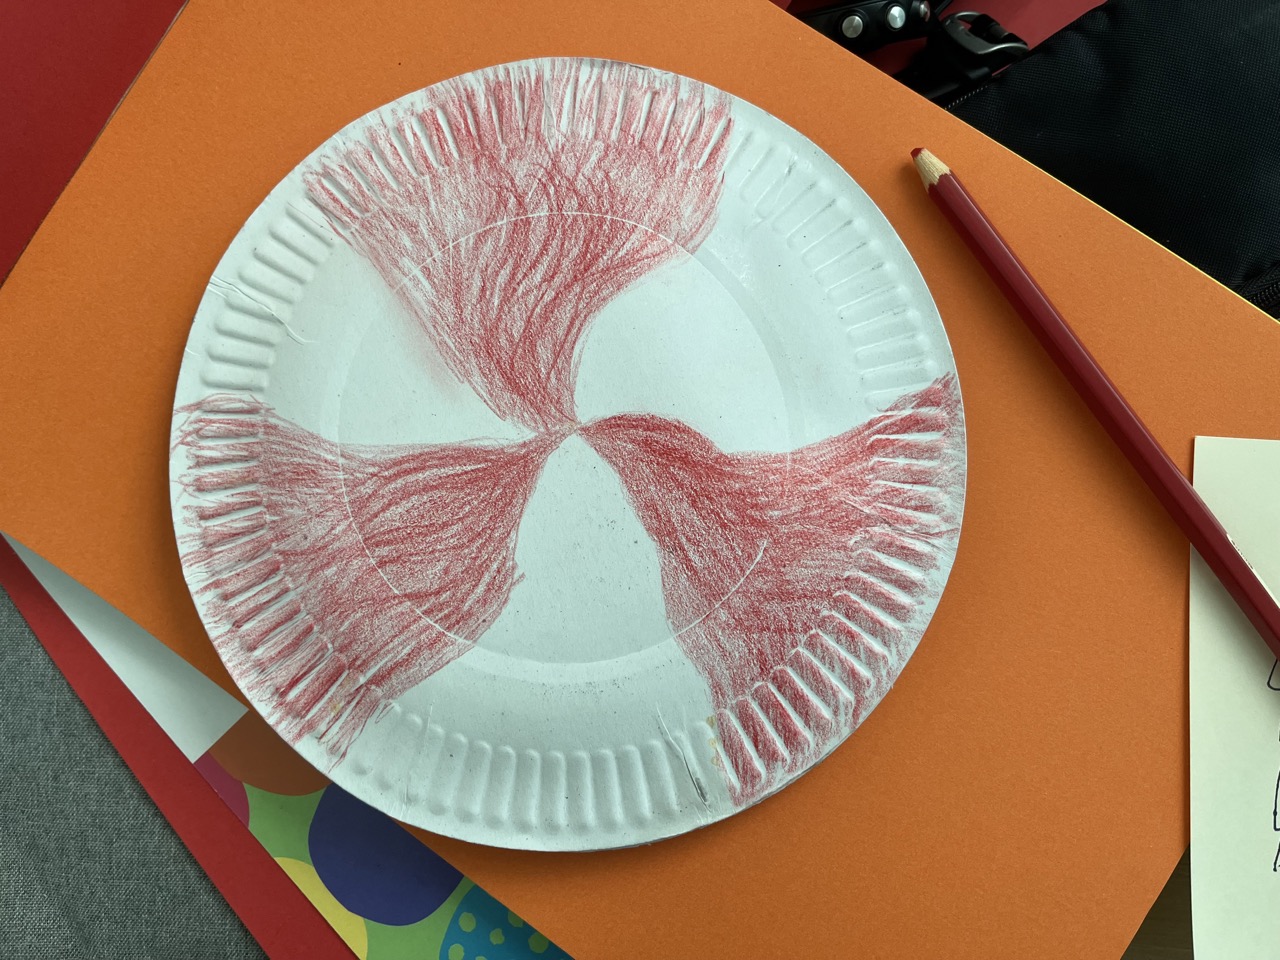
Step 2: Tape the paper plates onto each other. (Leave a gap at the bottom center of the paper plate. This will come in handy for the following steps.)
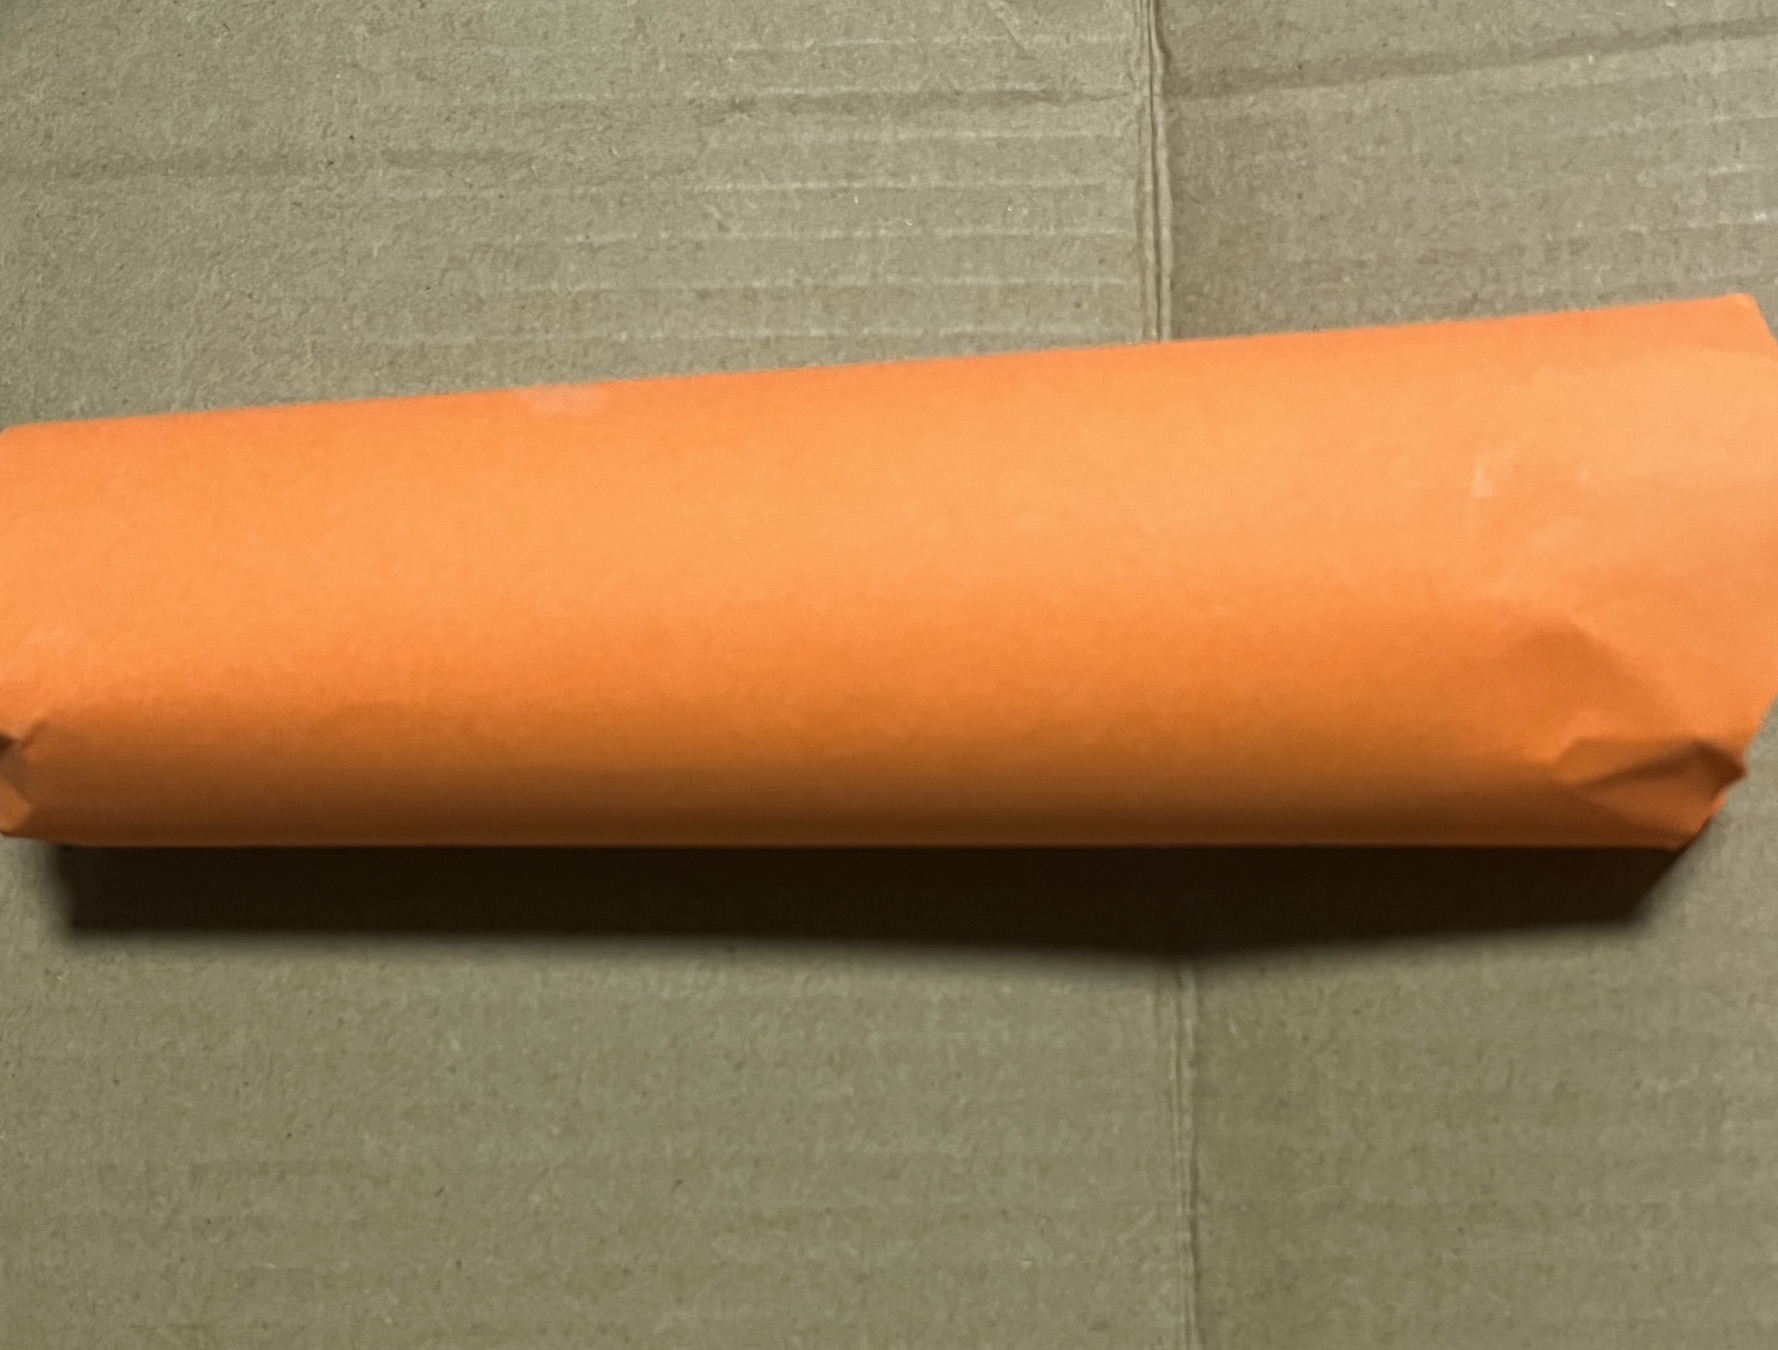
Step 3: If the colour of your cardboard is too dull, consider wrapping it with your preferred choice of coloured paper.
Step 4: Slot the cardboard in between the two paper plates for your lollipop to support itself freely.
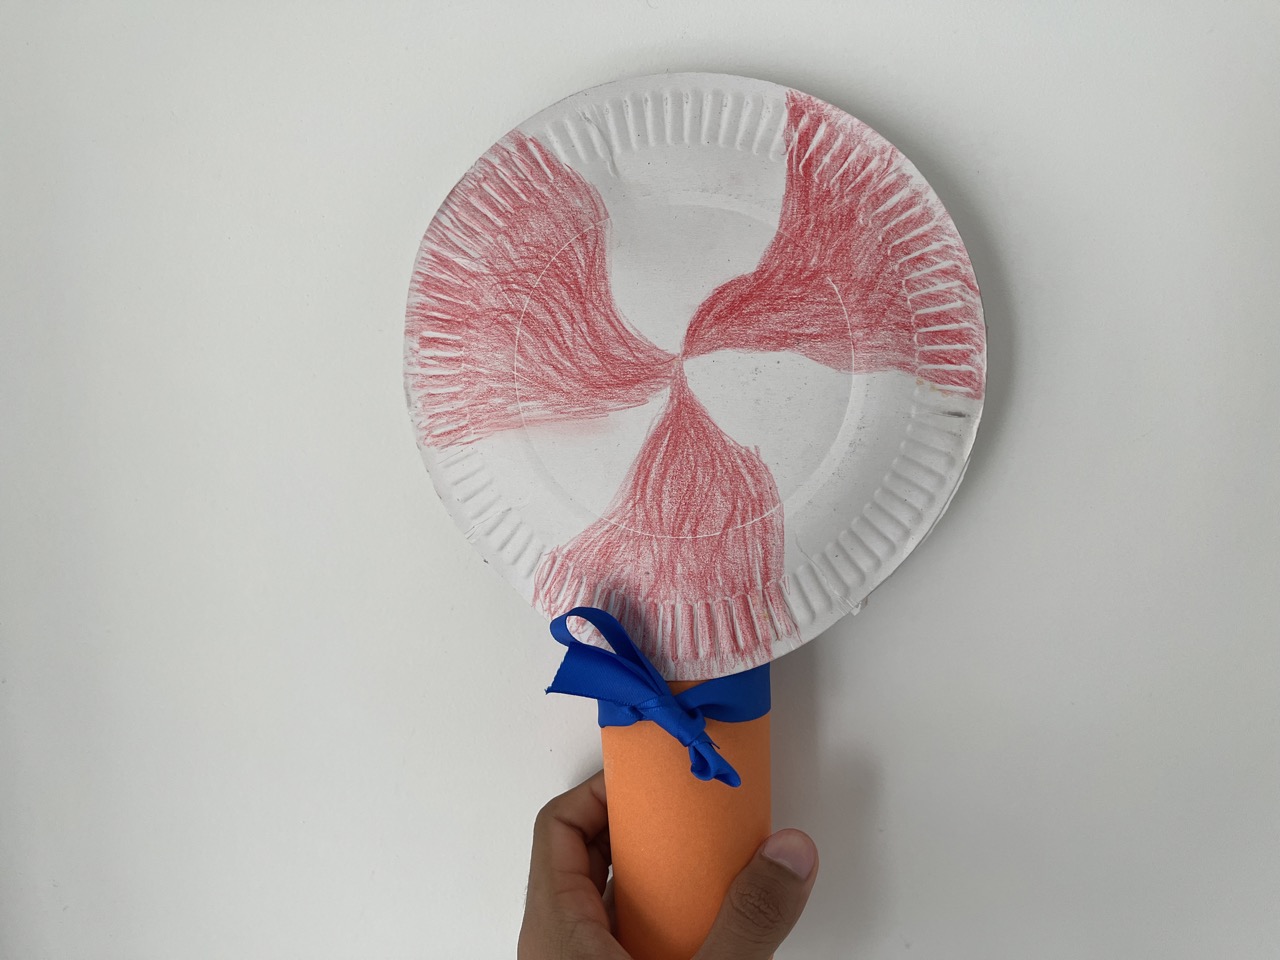
The Christmas lollipop definitely lives up to the saying, “home sweet home”!
6. Snowflakes
Estimated time: 20 minutes
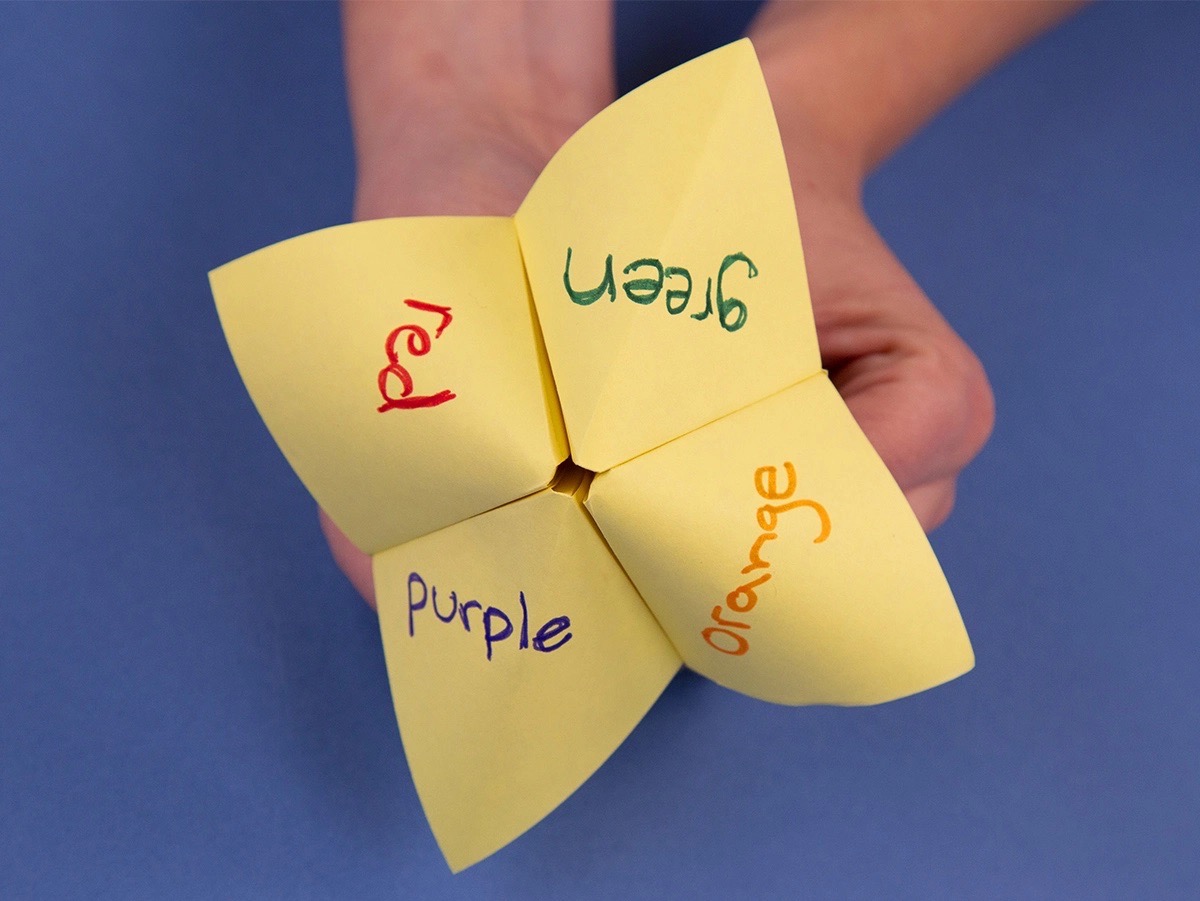
Ever played a game of paper fortune telling? To make your own snowflakes, you can replicate the shape of an origami fortune teller. But be warned, the steps are quite technical. So, pay close attention to the steps.
Materials: Coloured paper, ruler and a pair of scissors.
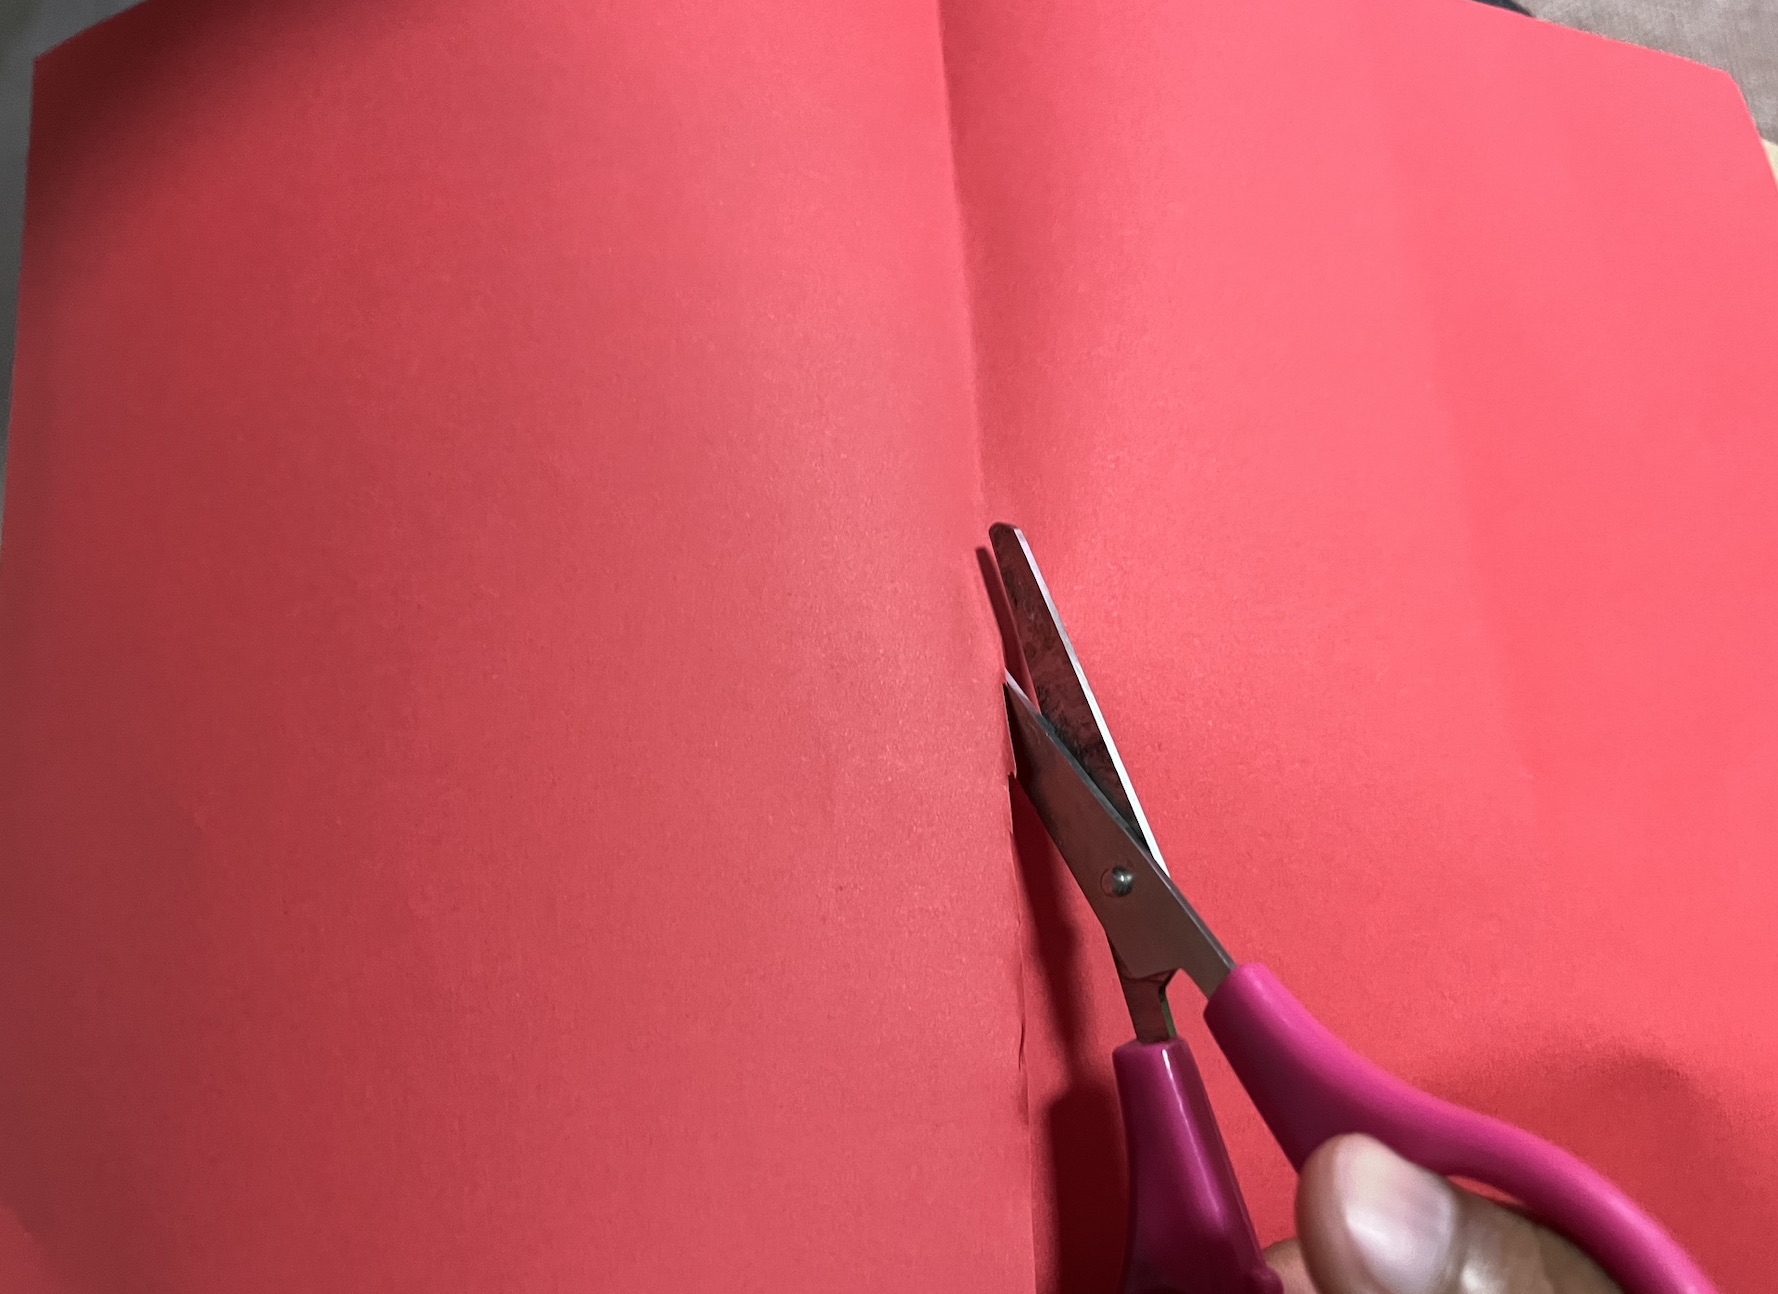
Step 1: Fold the A4 size paper into half and proceed to cut it into two.
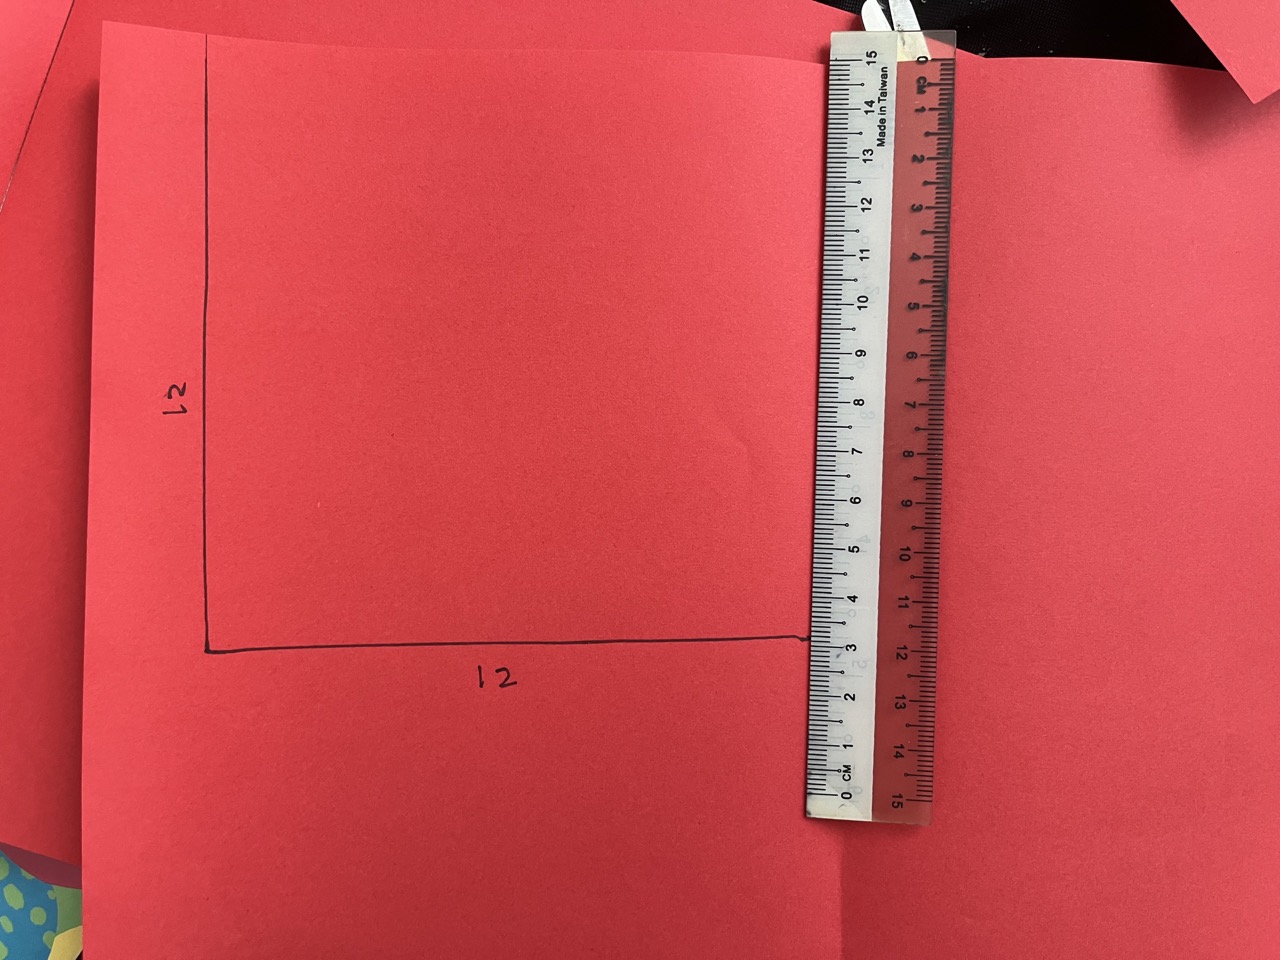
Step 2: Using half the paper, use a ruler to measure 12 cm by 12 cm on each side of the paper.
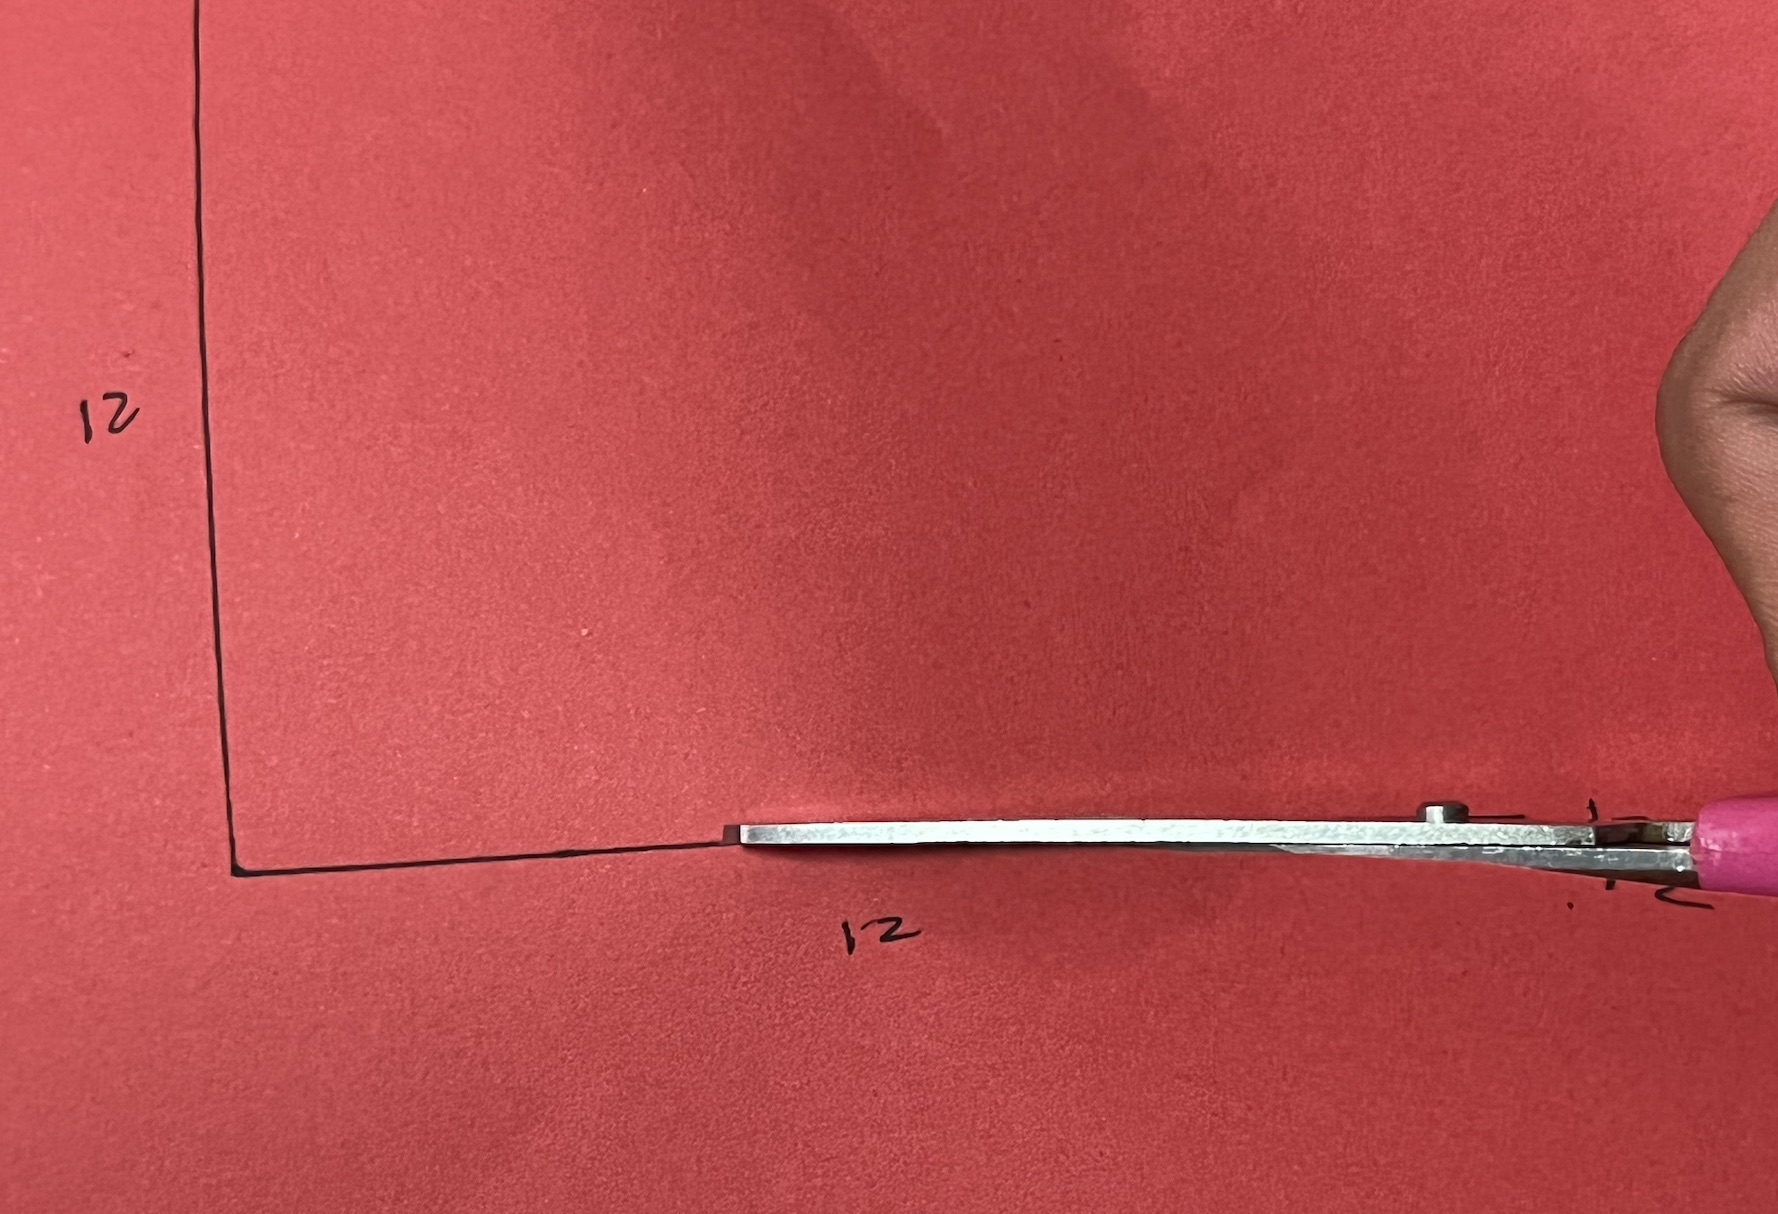
Step 3: Cut the paper according to its measurement. You’re really sharpening your cutting technique!
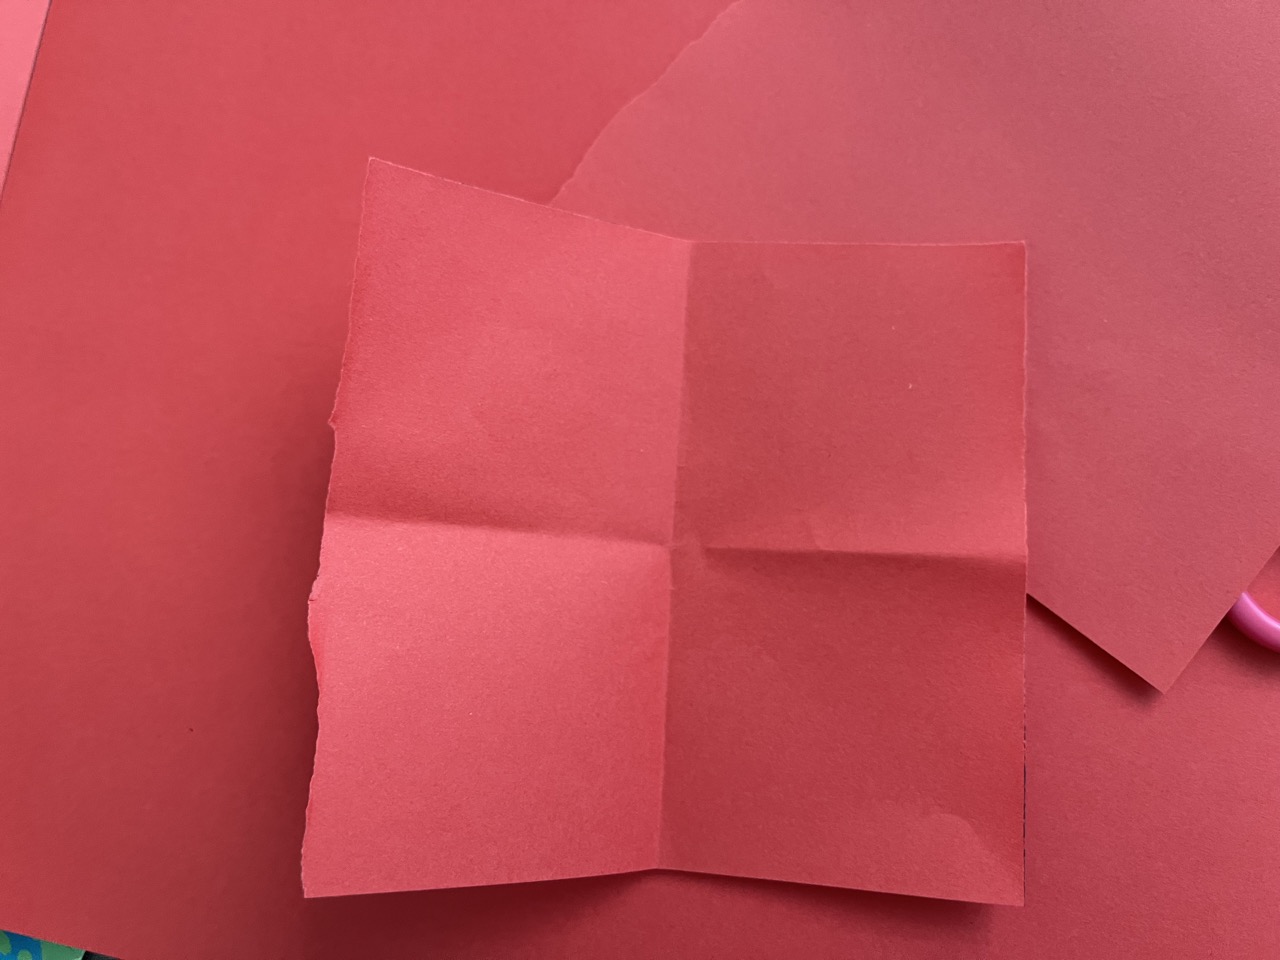
Step 4: Fold the paper that you have cut into two halves. (You will see four squares on the paper after completing this step.)
Step 5: Fold two triangles on the two boxes to the centre of the square. Your paper will start molding into a familiar shape – a paper plane without its wings.
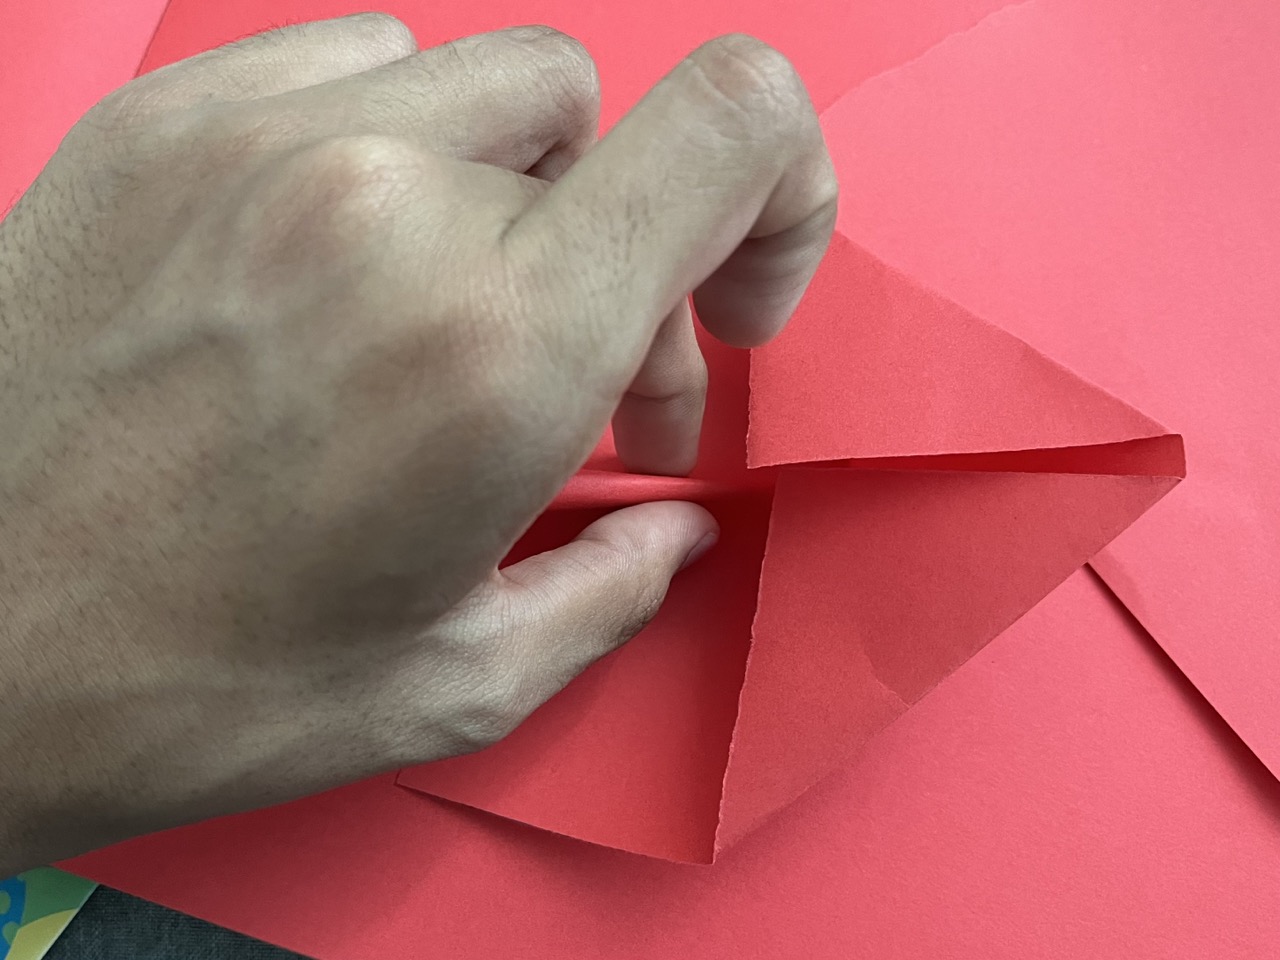
Step 6: Pinch the centre of the paper inwards on the unfolded area of the paper. You will see part of the snowflake forming.
Step 7: Depending on how ambitious you are, you can fold six to eight more papers before taping them together. I made eight!
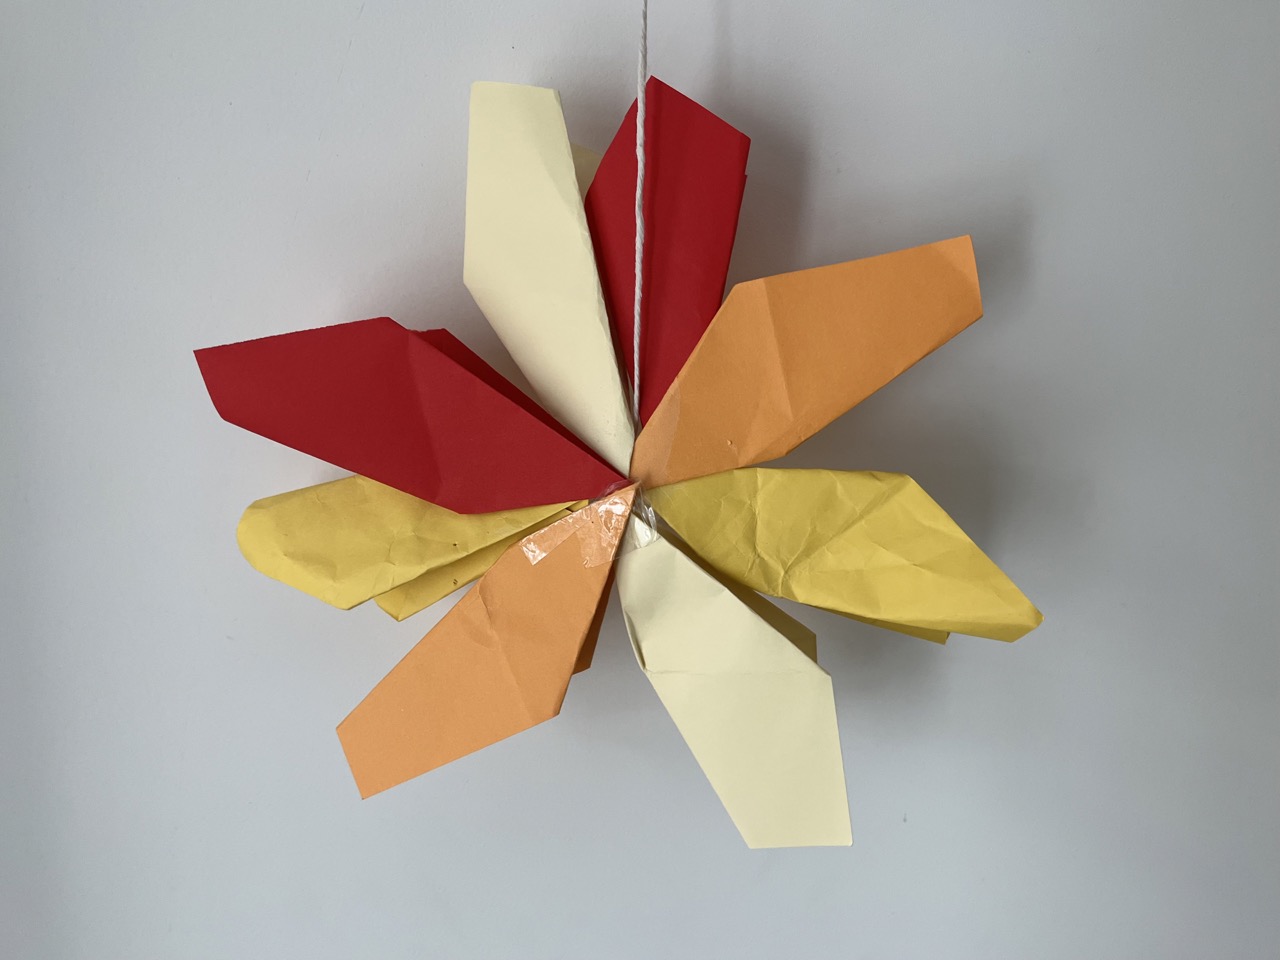
You did it! You can start hanging these snowflakes around the house to get into the festive mood.
7. Christmas House
Estimated time: 40 minutes
Last but not least, the Christmas house. As friends and family gather at home to celebrate this Christmas season, welcome them with a personal touch. Assembling a Christmas house is also better done with two or more people.
Materials needed: Cardboards, coloured paper, coloured markers, a pair of scissors, and a roll of tape.
Step 1: Cut five pieces of cardboard into squares or rectangles. You can choose the size of your Christmas house. (The dimensions for mine were 10 cm by 10 cm.)
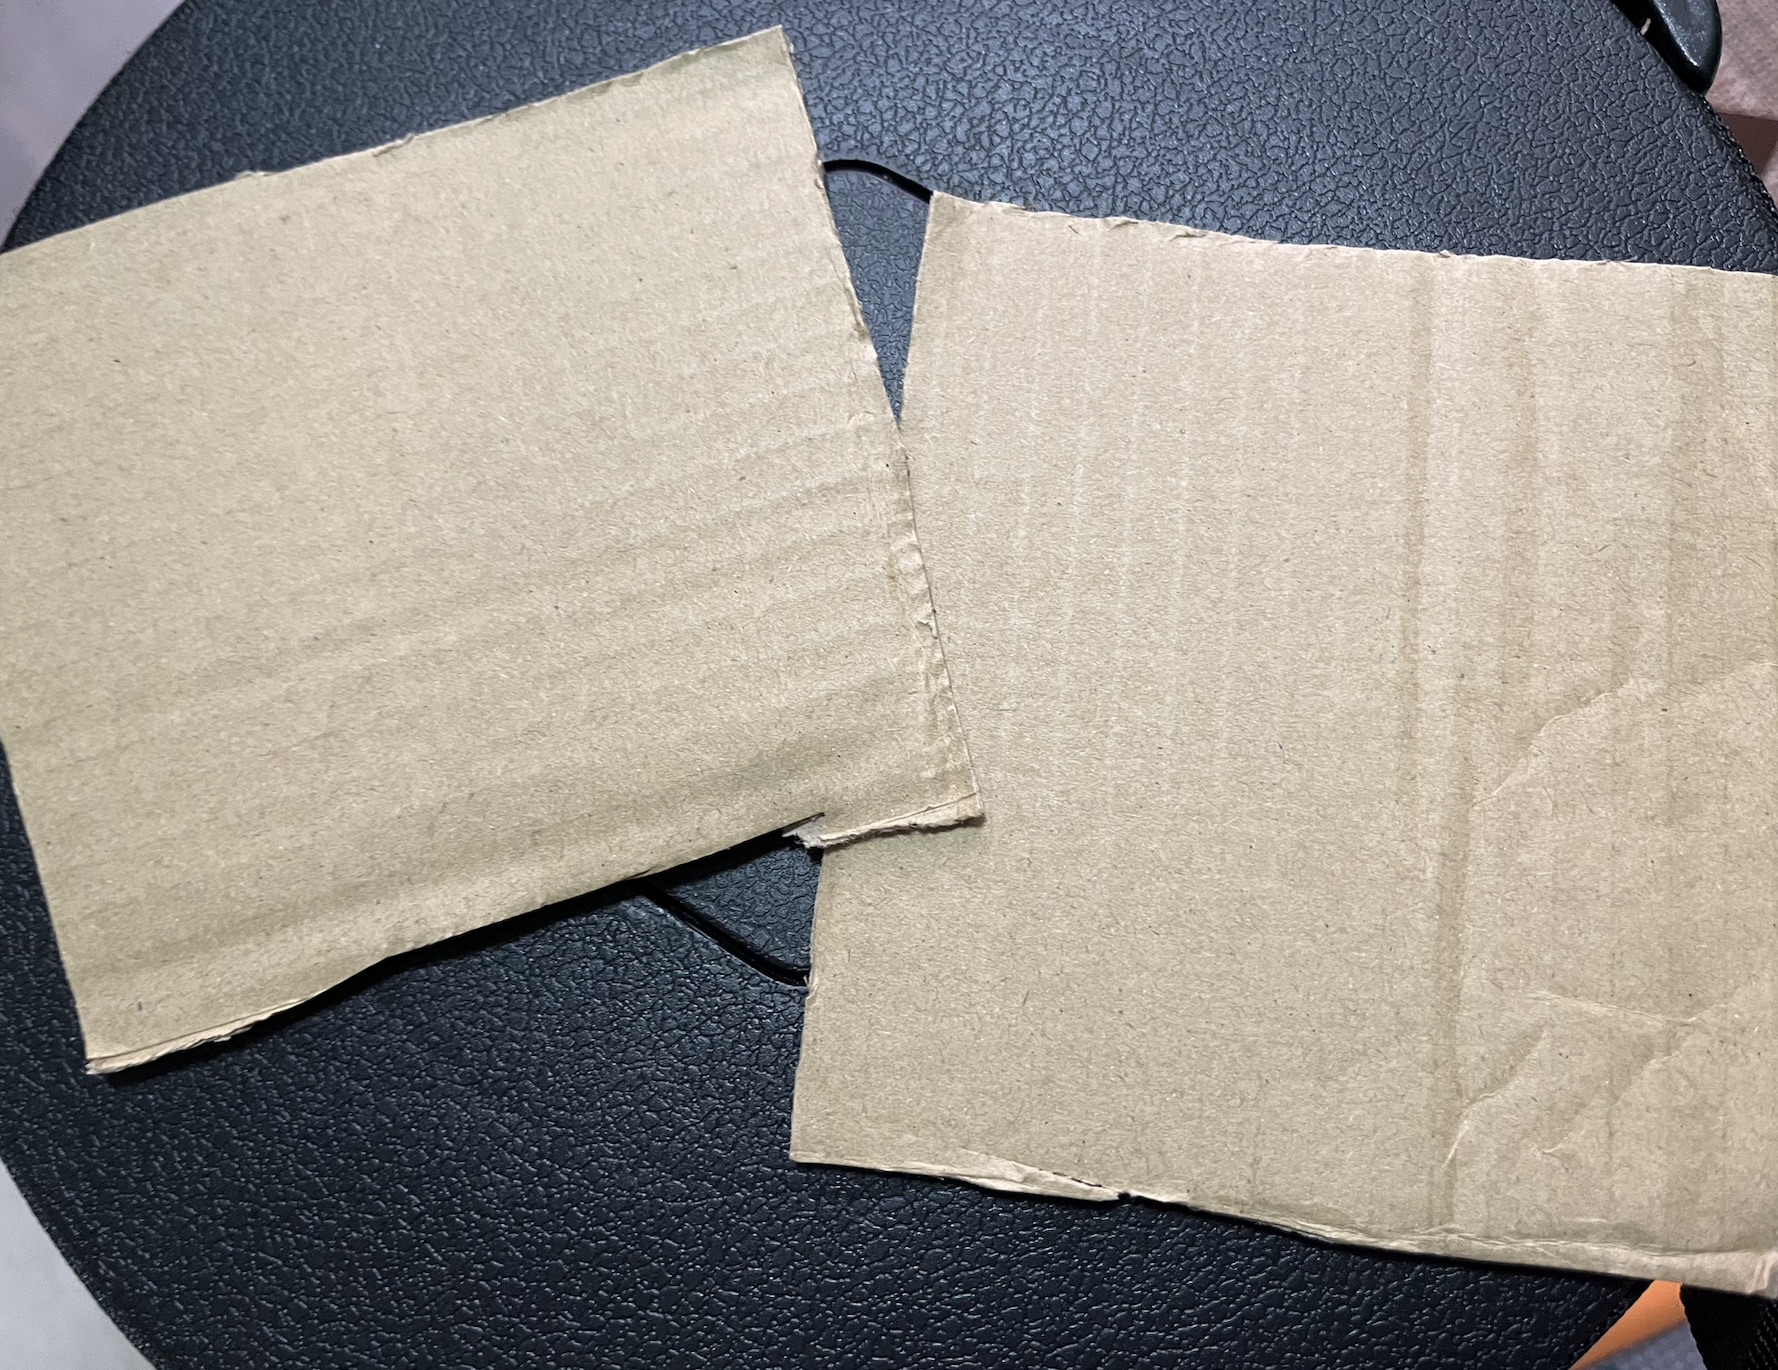
Step 2: Lay the cardboard on the ground and tape the edges of it. (You should be able to fold the edges together to form the base and walls of your Christmas house.)
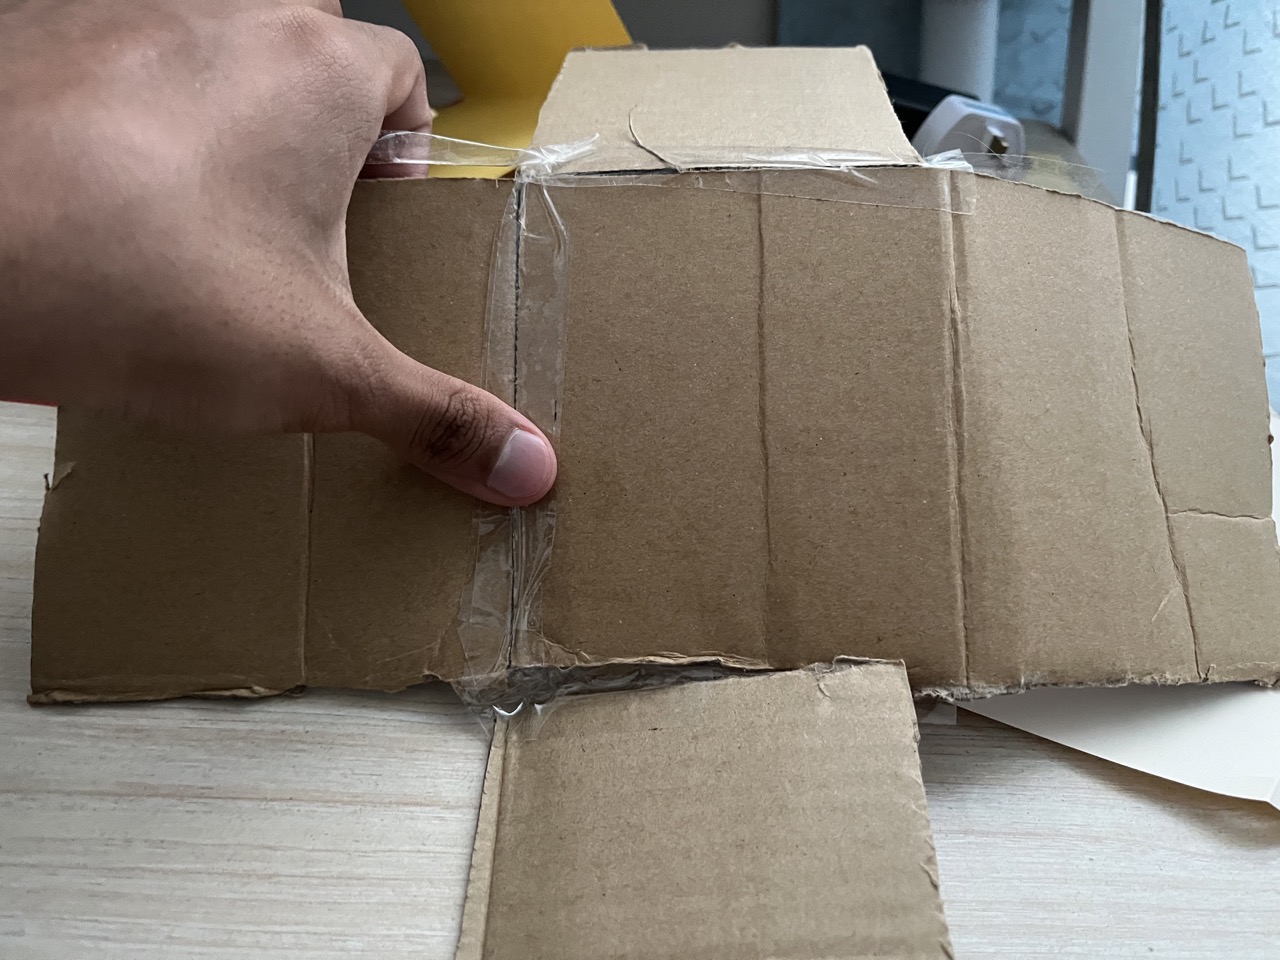
Step 3: Use a cardboard, preferably a few centimeters longer to form the roof. A trick is to fold the cardboard into two to create a triangular shape.
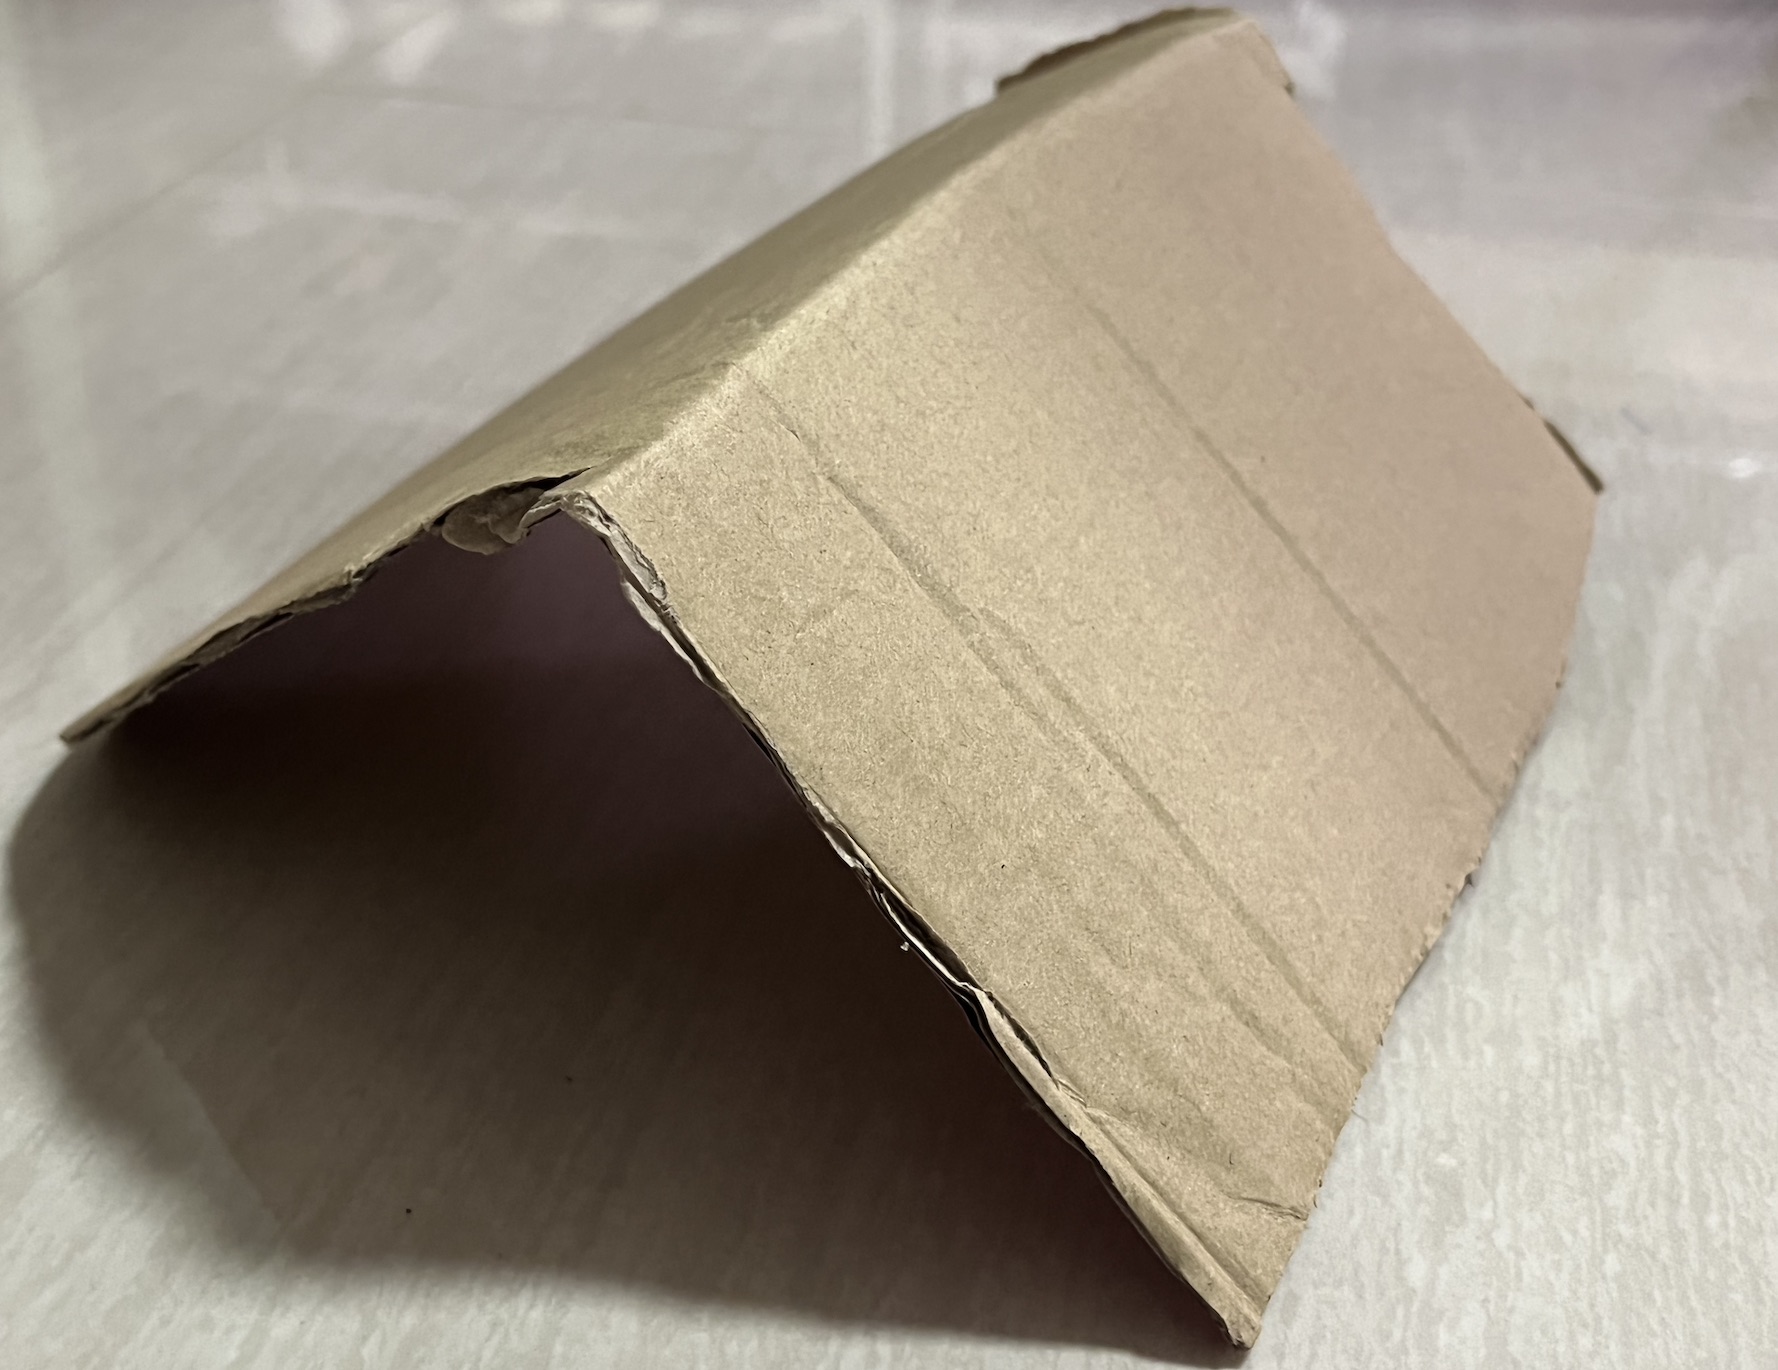
Step 4: Tape the ends of the triangular cardboard at the top of the Christmas house. Are you starting to see your Christmas house come to life?
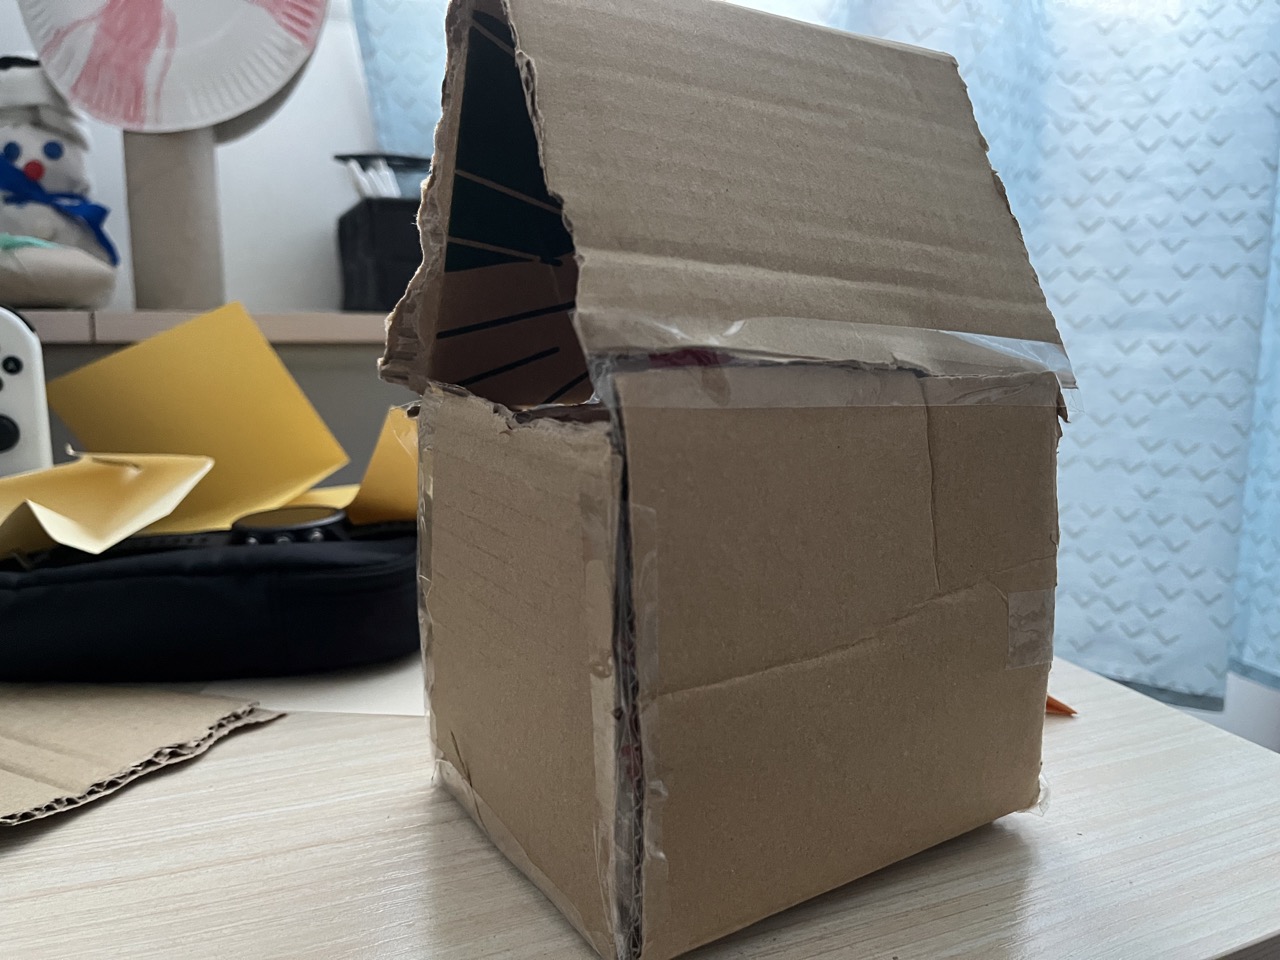
Step 5: Decorate your house with coloured markers. You can even paste the Christmas trees that you have done earlier onto the house.
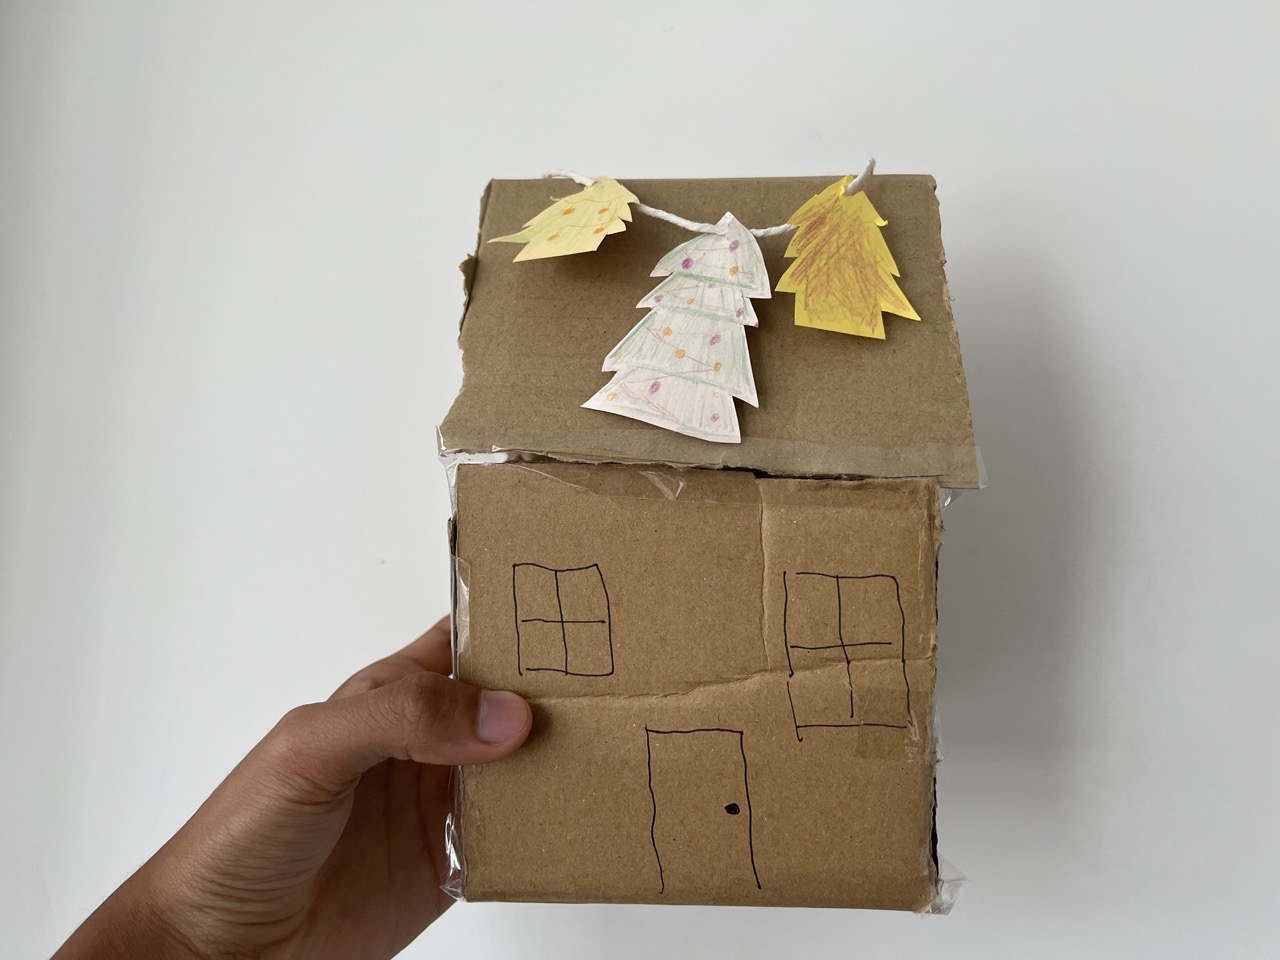
As you can tell from my attempt at the Christmas house, I’m not that craftsy. But I did my best and you can too!

I managed to complete all seven decorations in half a day. It is also a good way to spend some quality time especially by crafting these decorations with your family.
As the saying goes, “Christmas presents are nice, but being with family is the best gift of all.”
So here’s The UrbanWire family wishing you a Merry Christmas and Happy Holidays!
Proofread by: Kimberley Caleon